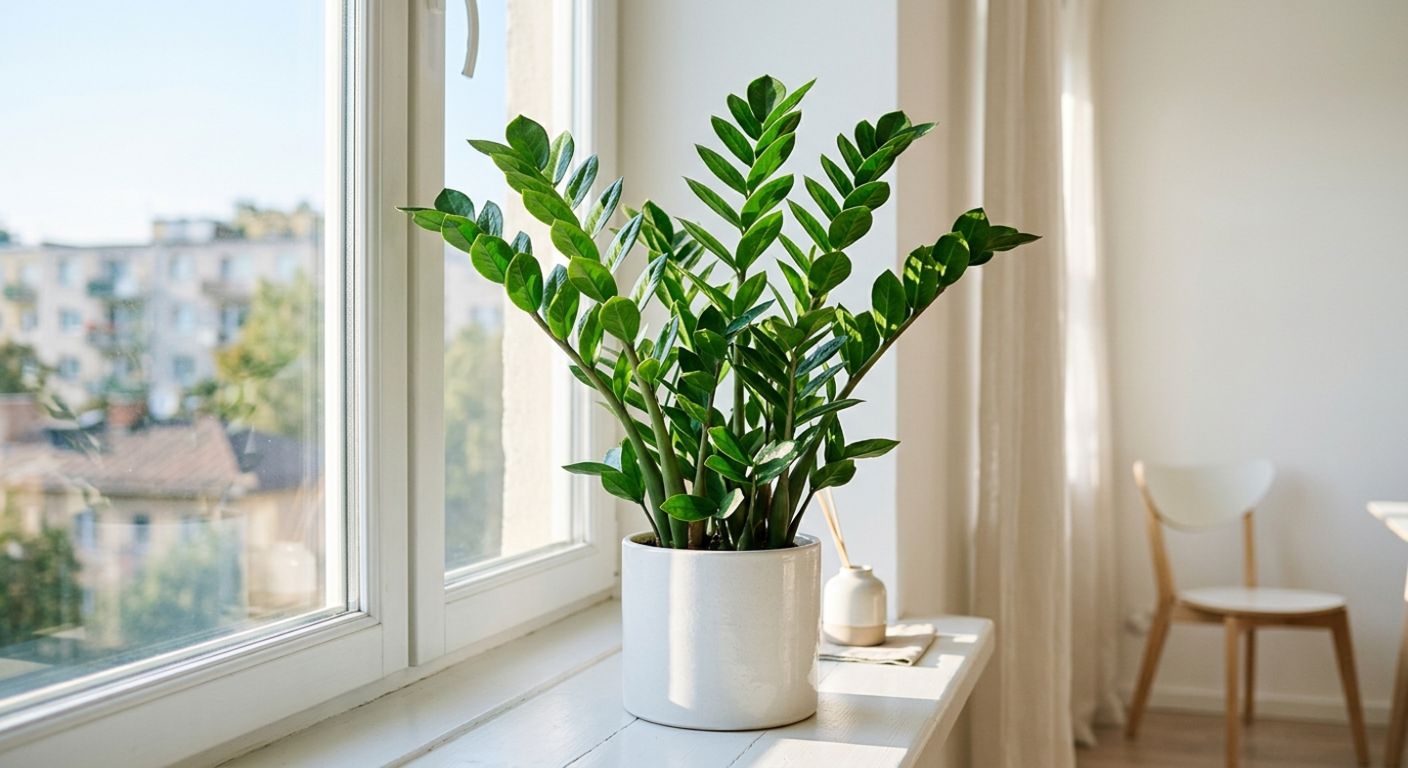
There is a plant that has been sitting in the corner of offices, hotel lobbies, airport lounges, and living rooms for decades — quietly thriving while everyone walks past it without paying much attention. A plant with upright, arching stems, perfectly paired oval leaves so glossy they look like they have been polished. A plant that does not droop when you forget to water it for three weeks. A plant that grows in the dim corner your other plants have quietly given up on.
That is the ZZ plant. And if you have ever killed a houseplant and lost confidence in your ability to keep anything alive, this is where you start over.
The ZZ plant — Zamioculcas zamiifolia, also known as the Zanzibar gem, eternity plant, Zee Zee plant, or aroid palm — is native to the dry forests and grasslands of eastern Africa, from Kenya down to South Africa. In its natural habitat, it endures long periods of drought, poor soil, and erratic rainfall. That history of surviving genuinely harsh conditions is why it handles the imperfect environment of most homes with almost absurd ease.
There is one way to kill a ZZ plant. One. We will cover that in detail. Everything else is straightforward, and once you understand the biology behind the rules, the whole care routine clicks into place.
What Is ZZ Plant Called Around the World?
| Region | Local Name |
|---|---|
| 🇬🇧 English | ZZ Plant / Zanzibar Gem / Eternity Plant |
| 🇩🇪 German | Glücksfeder (Lucky Feather) |
| 🇫🇷 French | Zamioculcas / Plante ZZ |
| 🇮🇹 Italian | Zamioculcas / Pianta ZZ |
| 🇪🇸 Spanish | Zamioculca / Planta ZZ |
| 🇵🇹 Portuguese | Zamioculca |
| 🇧🇷 Brazil | Zamioculca / Planta da Fortuna |
| 🇳🇱 Dutch | Zamioculcas |
| 🇨🇳 Chinese | 金钱树 (Jīnqián Shù — Money Tree) |
| 🇯🇵 Japanese | ザミオクルカス |
| 🇰🇷 Korean | ZZ 식물 |
| 🇵🇱 Polish | Zamiokulkas |
| 🌐 Scientific | Zamioculcas zamiifolia |
🌿 ZZ plant was first documented by British botanist George Loddiges in 1829 but remained relatively obscure until Dutch nurseries began mass-producing it in the 1990s. It hit global houseplant markets in 1996 and became one of the most widely sold indoor plants in the world within a decade. The name Zamioculcas zamiifolia references the plant's resemblance to the Zamia palm family combined with its Colocasia-like leaves — but nobody uses the full name. Everyone calls it the ZZ plant.
The Secret Underneath: Why ZZ Plant Is So Tough
Before the care steps, one piece of biology that makes everything else make sense.
Pull a ZZ plant out of its pot and look at what is below the soil. You will find thick, rounded, potato-like structures attached to the roots — called rhizomes. These are not decorative. They are survival technology.
ZZ plants store water and nutrients directly inside these rhizomes, which can represent a significant portion of the plant's total mass. When drought comes — and in eastern Africa, it comes reliably — the ZZ plant draws on these reserves to keep its leaves alive and metabolic processes running. The succulent leaves themselves also store water, containing up to 91% water by weight.
The result is a plant that genuinely carries weeks, sometimes months, of water supply with it at all times. That is why forgetting to water a ZZ plant for three weeks does not kill it. That is why it sits in a dim office corner without collapsing. It is not struggling in those conditions — it is simply running on reserves.
Understanding this changes how you care for it. The rhizomes are the plant. Protect them from rot and the plant will almost certainly be fine.
Which ZZ Plant Should You Get?
All ZZ plant varieties share identical care requirements — same light, same water, same soil. The choice is purely about aesthetics and size.
| Variety | Appearance | Height | Best For |
|---|---|---|---|
| Classic ZZ (Zamioculcas zamiifolia) | Deep glossy green, upright arching stems | 60–120 cm (2–4 ft) | Any room, any style — the original |
| Raven ZZ | New leaves emerge green, mature to near-black purple | 45–75 cm (1.5–2.5 ft) | Dark dramatic modern interiors |
| Chameleon ZZ | New leaves emerge bright yellow, mature to dark green | Up to 120 cm (4 ft) | Rooms that need a colour contrast surprise |
| Zenzi ZZ | Compact, slightly curling leaves, stays small | 25–30 cm (10–12 in) | Desks, shelves, small spaces |
| Variegated ZZ | Green with cream or white variegation | 45–90 cm (1.5–3 ft) | Collectors and plant enthusiasts |
💡 For most beginners, the classic ZZ or Raven ZZ are the right starting points. Both are widely available, look stunning in any interior, and need no extra care beyond the standard guide. The Raven ZZ in particular has become one of the most searched ZZ varieties — its dark, almost black mature leaves are unlike anything else in the houseplant world.
Step 01 — Light: The Right Spot and What Low Light Actually Means
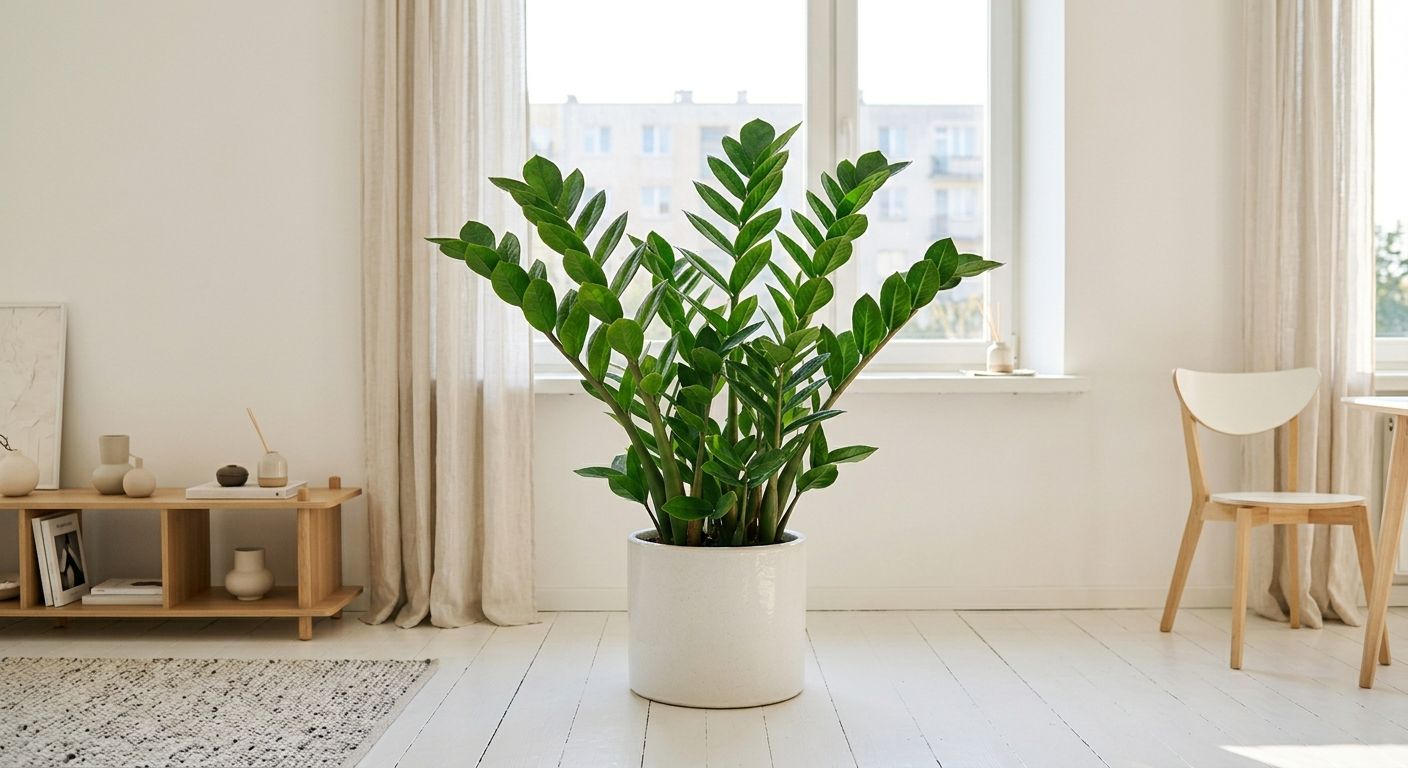
ZZ plants are famously tolerant of low light — but there is an important distinction between what low light means and what no light means.
ZZ plant grows best in bright indirect light — the kind of light you find a few feet back from a well-lit window, or directly at a north or east-facing window with no direct sun. In these conditions it grows steadily, pushes out new stems regularly, and maintains its characteristic deep, glossy green colour.
It tolerates genuine low light — a dim corner, a north-facing room, an office lit primarily by fluorescent tubes — better than almost any other attractive houseplant. It will still be alive. It will still look healthy. But growth slows significantly in low light. A ZZ plant that pushes out new growth every month in bright indirect light may produce only two or three new stems per year in a dim corner.
There is one condition that hurts it: extended direct harsh sunlight. Placing a ZZ plant directly in a south-facing window with hours of intense afternoon sun causes leaf scorch, bleaching, and brown patches. The glossy leaves are built to reflect and filter light in a forest understory — not to absorb full tropical sun. Bright indirect is the sweet spot. Harsh direct is the one light condition to avoid.
The fluorescent light note: ZZ plants adapt to fluorescent office lighting better than almost any other houseplant — which is why they appear in so many offices and commercial spaces. A standard office ceiling light, while not ideal, is enough to keep a ZZ plant alive and reasonably healthy indefinitely.
💡 Easy placement rule: If you can comfortably read a book in the spot without switching on a lamp, a ZZ plant will survive there. If it is bright enough to feel pleasant and you would describe it as a well-lit room, it will thrive.
Step 02 — Watering: The One Rule That Keeps This Plant Alive
This is where ZZ plants are killed. Not by neglect — by kindness. By people who care too much, water too often, and drown the rhizomes that this plant has spent millions of years perfecting.
Overwatering is the only reliable way to kill a ZZ plant. Root rot caused by consistently wet soil destroys the rhizomes, cuts off the plant's ability to store and distribute water and nutrients, and causes a collapse that looks dramatic and comes on fast.
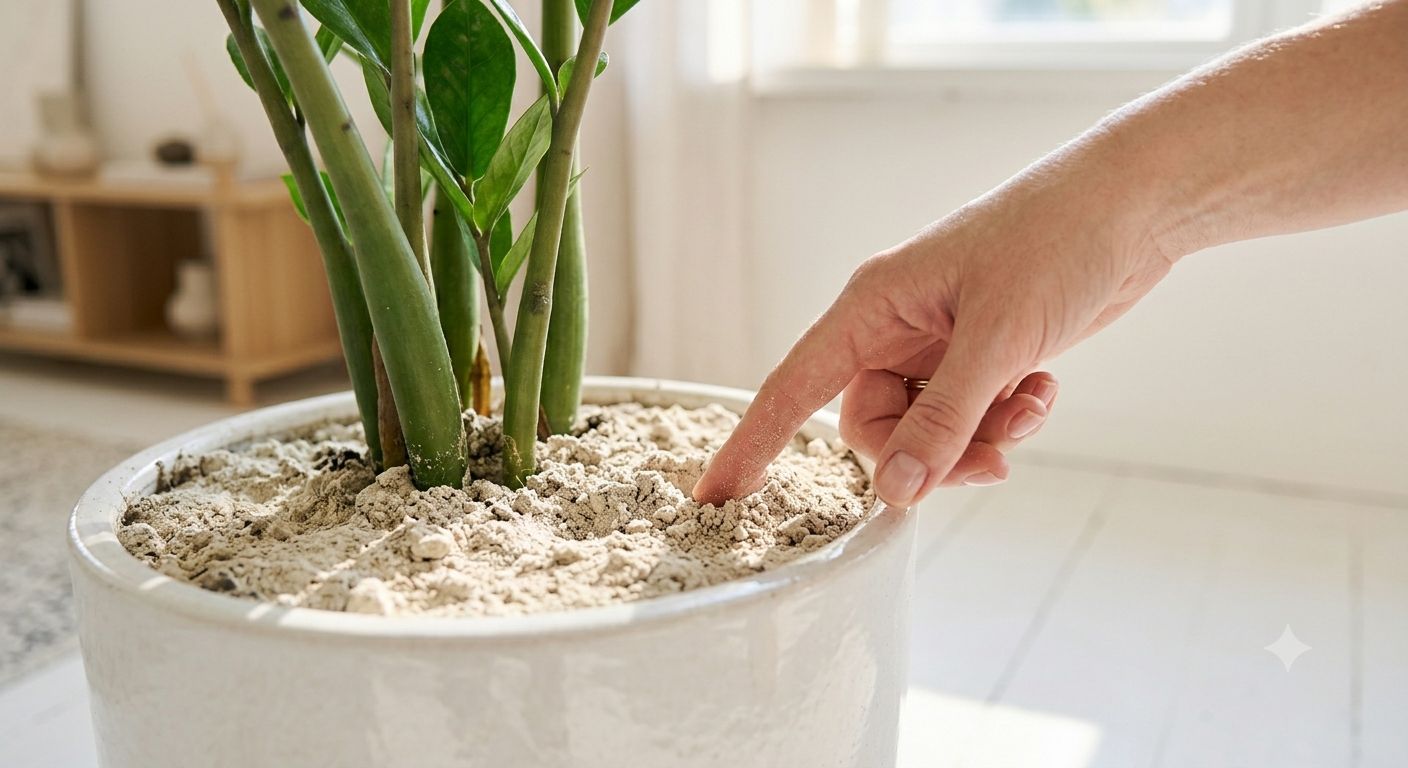
The rule is simple and absolute: only water when the soil is completely dry.
Not slightly dry. Not dry at the surface with moisture two inches down. Completely dry all the way through the pot. Insert your finger as deep as it will go or use a moisture meter. If there is any dampness at all — wait. Come back in three to five days and check again.
When you do water, do it thoroughly. Water until it flows freely from the drainage hole at the bottom of the pot. This ensures the entire root and rhizome zone is saturated. Then stop, let it drain completely, and do not water again until the whole pot has dried out.
How often does that mean in practice?
| Season / Conditions | Frequency |
|---|---|
| Spring and summer — bright light, warm | Every 2–3 weeks |
| Autumn — growth slowing | Every 3–4 weeks |
| Winter — low light, cool, dormant | Every 4–8 weeks or less |
| Very low light year-round | Every 3–6 weeks |
These are guides. The soil test is always the real answer. In winter, a ZZ plant in a cool, dim room may go a full month between waterings and show no distress at all — it is drawing on its rhizome reserves.
One common fatal mistake: seeing yellow leaves and assuming the plant is thirsty, then watering more. Yellow leaves on a ZZ plant almost always mean overwatering, not underwatering. Before adding more water after seeing yellow leaves, check the soil. If it is wet — stop watering completely, let the pot dry out fully, and reassess.
⚠️ Signs of overwatering: Yellow, soft, or mushy leaves especially at the base. Stems that feel limp despite wet soil. A foul smell from the pot. These are early signs that rhizome rot has begun — act immediately by stopping all watering and letting the soil dry completely.
💧 Signs of underwatering: Wrinkling or shrivelling stems. Leaves that feel less firm than usual. The stems leaning away from upright. These are the ZZ plant's honest signal that reserves are running low — water thoroughly and it will recover quickly.
Step 03 — Soil and Pot: Set This Up Once, Correctly
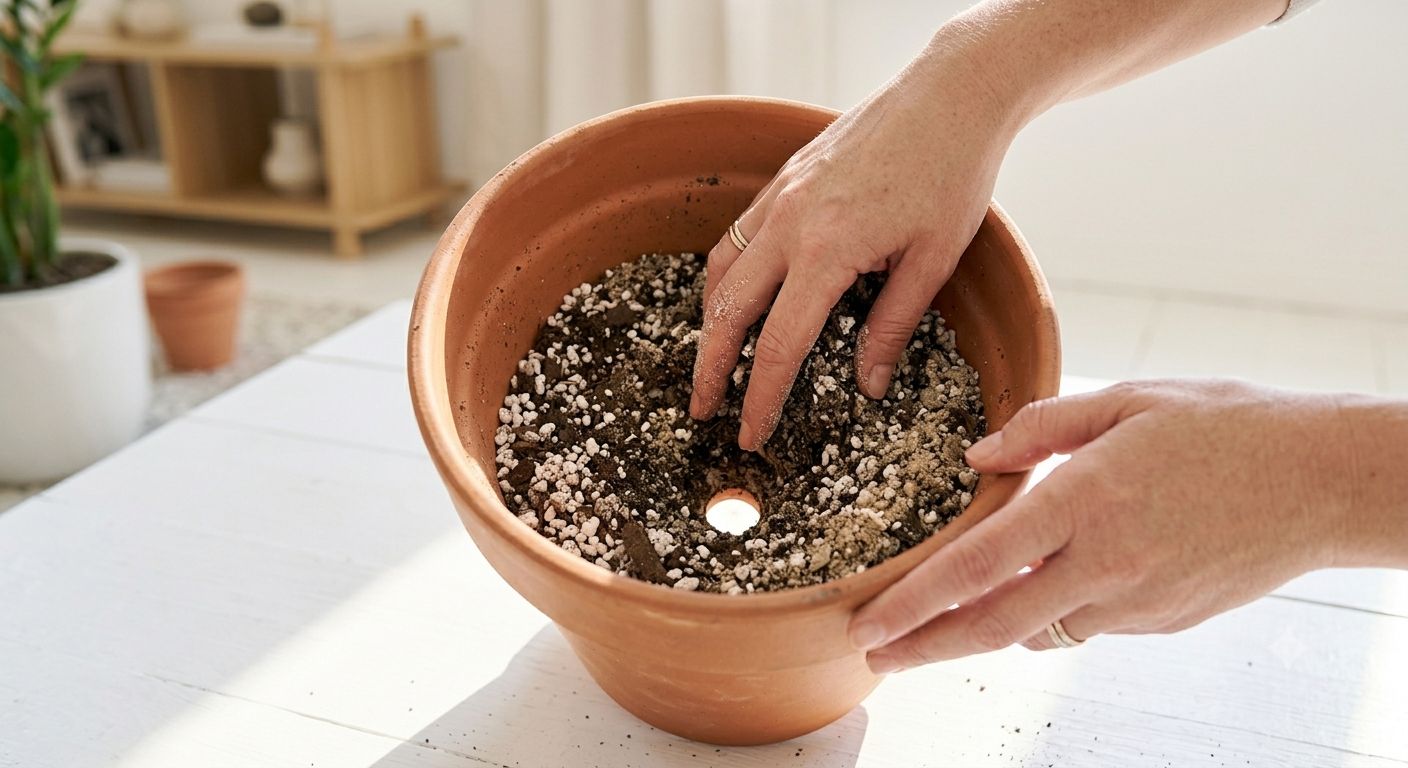
Given that overwatering is the main threat, the soil and pot setup is your first line of defence.
Soil:
ZZ plants are native to sandy, low-nutrient soil in eastern Africa. Standard houseplant potting soil — designed to retain moisture — is not the ideal starting point for them. Improve it significantly by mixing in drainage material.
The recommended mix from Clemson University Extension: 50% peat moss or coir-based potting soil, 25% perlite, and 25% coarse sand. This creates a light, well-aerated mix that drains quickly after watering, prevents saturation around the rhizomes, and dries out at the right pace between waterings.
Alternatively, use a cactus and succulent potting mix as your base — this is pre-formulated for fast drainage and works very well for ZZ plants with minimal modification.
Pot:
Drainage holes are non-negotiable. A ZZ plant in a pot without drainage holes will inevitably develop root rot — there is no reliable way to prevent water from accumulating at the base.
ZZ plants prefer to grow slightly root-bound — a pot only slightly larger than the current root mass is ideal. A pot that is too large holds far more soil than the roots can absorb moisture from, and that excess wet soil sits around the rhizomes long after the plant has taken what it needs. When repotting, go up only one pot size at a time.
Terracotta pots are excellent for ZZ plants — they breathe and wick away excess moisture through the walls. The trade-off is that they dry out faster, which suits a drought-tolerant plant like ZZ very well.
Step 04 — Temperature, Humidity, and Placement
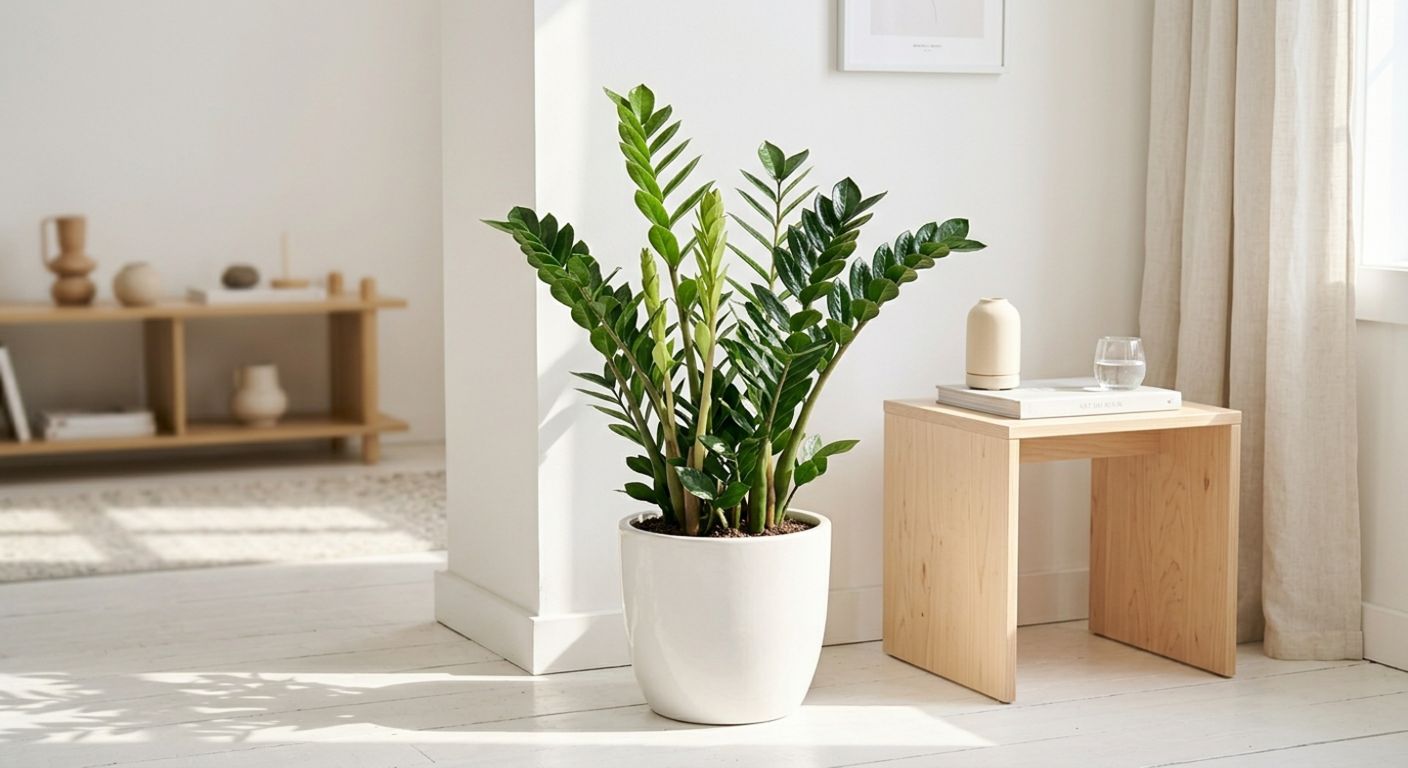
Temperature:
ZZ plants prefer warm, stable indoor temperatures — the range of 18–27°C (65–80°F) that most heated or air-conditioned homes naturally maintain. They are not frost-tolerant — keep them above 10°C (50°F) at minimum, and ideally above 15°C (59°F) at all times.
The two conditions to specifically avoid are cold drafts and hot dry air blasting directly from heaters or air conditioning vents. Both cause leaf tip browning and stress the plant without an obvious immediate cause. Move the pot away from directly in front of any vent.
Humidity:
This is where ZZ plant makes life genuinely easy. It does not care about humidity. Average household humidity — typically 40–60% — is perfectly adequate. Unlike tropical plants that struggle in dry winter air or in heated rooms, ZZ plants handle low humidity without complaint. No misting, no pebble tray, no humidifier required.
The ideal room:
A ZZ plant suits almost any room in the house. Living rooms with bright indirect light produce the fastest, most impressive growth. Bedrooms with medium light work well. Offices and dim hallways — ZZ survives here longer than any other attractive plant. The one room to consider carefully is a very humid bathroom with no natural light at all — the combination of humidity and no light creates conditions where even a ZZ's rhizomes can struggle over time.
Step 05 — Feeding
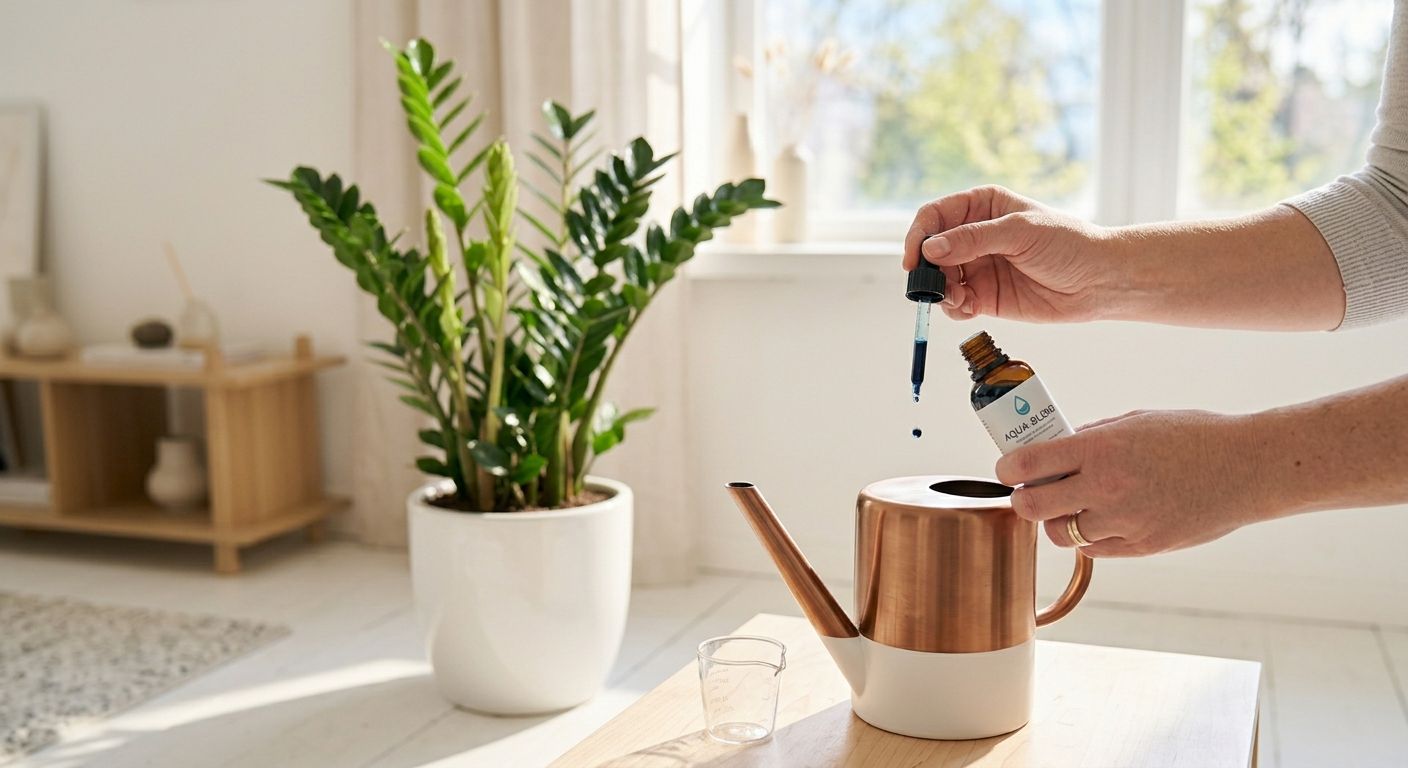
ZZ plants are light feeders — their native habitat of low-nutrient soil means they are not accustomed to being heavily fertilised. Simple, infrequent feeding during the growing season is all they need.
Feed once every six to eight weeks during spring and summer with a balanced liquid houseplant fertiliser diluted to half the recommended strength. Apply always to moist soil — never to completely dry soil, as concentrated fertiliser on dry roots causes burn.
Stop feeding entirely in autumn and winter. The plant slows its growth rate significantly in cooler, dimmer conditions and cannot use the nutrients — unused fertiliser accumulates as salt deposits in the soil, which over time damages roots and reduces the plant's health.
Over-fertilising a ZZ plant causes salt build-up that turns leaf tips brown and stunts growth. Less is genuinely more here. Two or three feeds per year is often sufficient for a plant that primarily wants to be left alone.
Step 06 — Propagation: Three Ways to Make More Plants
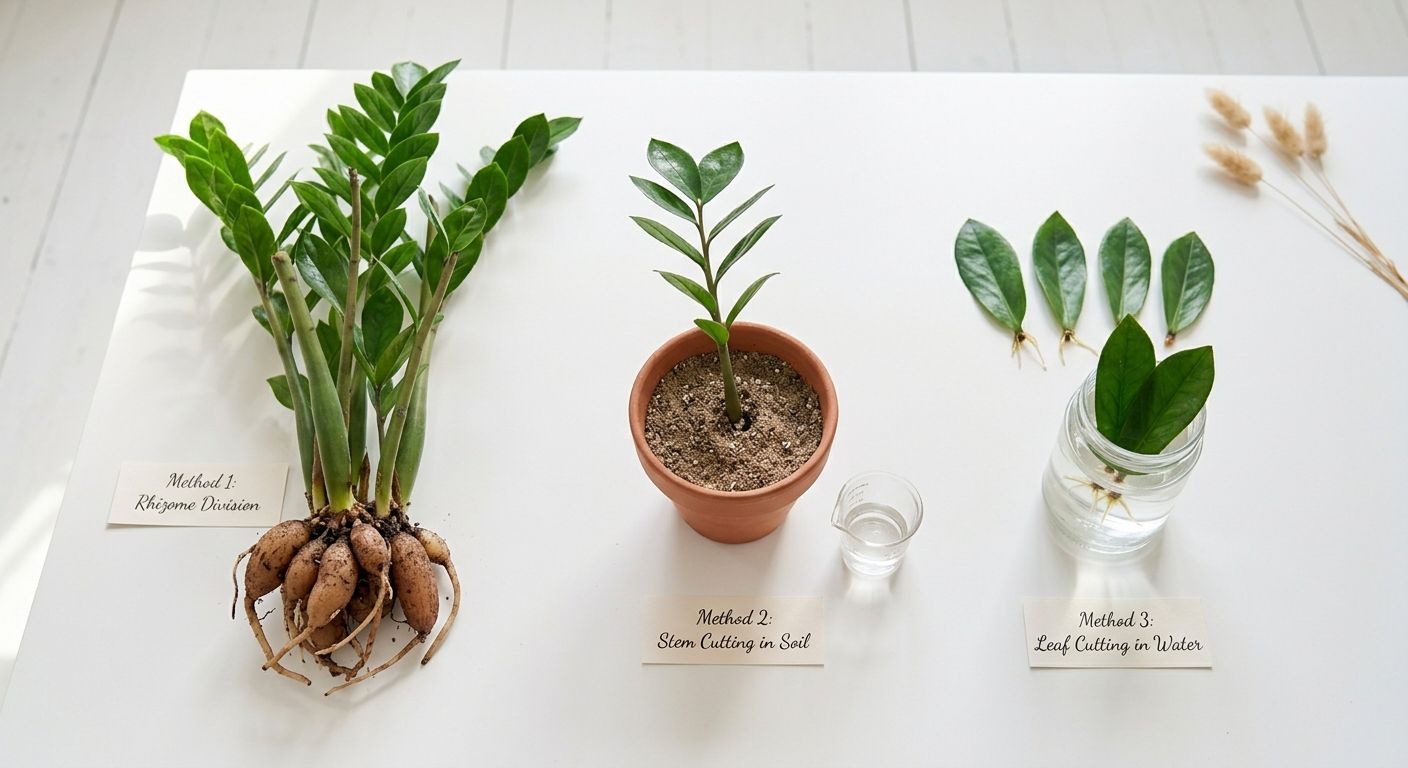
ZZ plants propagate through three methods. Each has a different timeline and produces different quantities of new plants.
Method 1 — Root Division (Fastest, Most Reliable)
When repotting a mature ZZ plant in spring or early summer, examine the rhizome cluster at the base. Where natural separation points exist, gently pull sections apart — or cut cleanly with a sterilised knife. Each section needs a cluster of healthy rhizomes and at least one stem. Pot each division into its own container with fresh, well-draining mix. Water once and leave in bright indirect light. The new plant establishes quickly because it already has a fully functional root and rhizome system.
This is by far the fastest propagation method — the new plant is essentially fully formed from day one.
Method 2 — Stem Cutting (Beginner-Friendly, Moderate Speed)
Cut a healthy stem at the base with clean scissors or pruners. Allow the cut end to callous for several hours before planting — this reduces the risk of rot at the wound site. Insert the base of the stem into moist, well-draining soilless medium. Keep in bright indirect light at 21–27°C (70–80°F). Root and new rhizome development becomes visible as small white nodules forming at the stem base — this typically takes four to twelve weeks depending on temperature and conditions. Warmer conditions significantly accelerate rooting.
Method 3 — Leaf Cutting (Slowest, Most Numerous)
Individual leaflets can be removed from a stem and propagated. University of Michigan research found that cuttings taken from the top (apical end) of a stem produced the most new rhizomes compared to cuttings taken from the middle or base — if propagating by leaf, take your cuttings from the upper portion of the stem for better results.
Insert the cut end of each leaflet into moist medium or stand it in a jar of water. Keep warm and humid. Rhizome formation under greenhouse conditions takes approximately one month — but under typical indoor home conditions, expect six to nine months of patience before significant new growth appears.
🌱 One fascinating ZZ plant behaviour: Fallen leaves that land in the moist soil of a neighbouring pot can spontaneously develop roots and begin growing — a natural reproductive strategy unusual among aroids. If a leaflet drops and disappears into a nearby plant pot, do not throw it away. It may be quietly growing.
Repotting — When and How
ZZ plants prefer slightly root-bound conditions and are slow growers — they need repotting far less frequently than most houseplants. Repot every two to three years or when you see roots growing through drainage holes, or when the plant is visibly pushing itself out of the pot from below.
Spring is the ideal time to repot — the plant is entering active growth and recovers fastest from root disturbance.
Always go up only one pot size. A pot significantly larger than the current one holds too much soil and moisture relative to the root mass, increasing the risk of root rot. Fresh well-draining potting mix at repotting time gives the rhizomes a clean, nutritious environment to continue expanding into.
After repotting, wait one week before watering — this allows any minor root damage from handling to heal before moisture is introduced.
Leaf Care — Keeping the Gloss
One of the ZZ plant's most distinctive features is the waxy, high-gloss surface of its leaves. In its native habitat, this surface helps reflect intense sunlight and reduce water loss. Indoors, it collects dust over time, dulling the appearance and slightly reducing the leaf's ability to absorb light.
Wipe leaves gently with a soft, damp cloth every few weeks to remove dust and restore the natural shine. Do not use commercial leaf-shine products — they clog the pores on the leaf surface and can cause long-term damage. Clean water on a soft cloth is all the ZZ plant needs to look its best.
Common Problems and How to Fix Every One
| Problem | Cause | Fix |
|---|---|---|
| Yellow leaves | Overwatering — most common cause | Stop watering. Let soil dry completely. Check roots for rot |
| Yellow leaves with dry soil | Underwatering or natural ageing of old leaves | Water thoroughly. Remove very old lower leaves — normal ageing |
| Brown leaf tips | Direct sunlight, fertiliser salt build-up, or dry hot air from vents | Move from direct sun. Flush soil with plain water. Move away from vents |
| Drooping stems | Underwatering — reserves depleted | Water thoroughly. Will recover within days |
| Mushy stems at base | Root rot from overwatering | Remove from pot. Cut away rotten rhizomes. Repot in dry fresh mix |
| Slow or no growth | Normal in low light or winter — not a problem | Move to brighter spot or accept winter dormancy |
| Leaves losing gloss | Dust accumulation | Wipe with damp soft cloth |
| Leaning to one side | One-directional light | Rotate pot 90° every two weeks |
| Small white nodules on roots | New rhizome development — healthy sign | No action needed — this is propagation in progress |
| Pests — mealybugs or spider mites | Rare but possible — usually from neighbouring infected plants | Wipe affected areas with rubbing alcohol on cotton. Treat with neem oil |
Quick Care Summary
| Care | Requirement |
|---|---|
| ☀️ Sunlight | Bright indirect to low — no direct harsh sun |
| 💧 Watering | Only when completely dry — every 2–6 weeks depending on season |
| 🌡️ Temperature | 18–27°C (65–80°F) — keep above 10°C (50°F) |
| 💨 Humidity | Average household — no special requirements |
| 🪴 Pot | Terracotta or ceramic with drainage holes — slightly root-bound preferred |
| 🌱 Soil | Fast-draining — 50% coir, 25% perlite, 25% sand or cactus mix |
| 🌿 Feeding | Half-strength liquid fertiliser every 6–8 weeks — spring and summer only |
| 📅 Repotting | Every 2–3 years — go up one size only |
| ✂️ Propagation | Division (fastest), stem cutting, leaf cutting (slowest) |
| 🐾 Pet safety | Toxic to cats and dogs if ingested — keep out of reach |
⚠️ Toxicity: ZZ plants contain calcium oxalate crystals throughout all parts of the plant. If ingested by pets or humans it causes mouth and stomach irritation and possible vomiting. Skin contact with the sap can cause mild irritation in sensitive individuals — wear gloves when handling during propagation or repotting. Keep the plant out of reach of cats, dogs, and small children. This toxicity concern was previously overstated — ZZ plant is not severely toxic, but caution is appropriate, particularly with pets that chew on plants.
By Seedora Store — your guide to indoor plants that actually work in any home.