Onions are the foundation of cooking across every cuisine in the world. French onion soup, Indian curries, Italian soffritto, Mexican salsas, British stews — almost every savoury dish starts with an onion hitting a hot pan. We buy them constantly, in bulk, and yet most people never think to grow them at home.
That changes now.
Onions are one of the most rewarding vegetables to grow in a pot or container. They are compact, low-maintenance once established, and an onion harvested from your own garden — firm, fragrant, and properly cured — stores at room temperature for up to six months. That is a vegetable that keeps giving long after the season ends.
The catch: onions are not fast. From planting to harvest takes four to five months depending on your variety and conditions. But the actual work involved is minimal — plant, water consistently, feed occasionally, and wait. Nature does the rest.
Here is everything you need to grow onions successfully at home, wherever you are in the world.
The Most Important Thing to Know First: Day Length
Before choosing a variety or buying seeds, there is one concept you need to understand about onions — because it determines everything about which variety you should grow.
Onions form bulbs in response to day length — the number of hours of sunlight in a day. Get this wrong and your onion will grow lush, beautiful green tops but never form a proper bulb underground.
Onions are divided into three types:
| Type | Bulbs When | Best For | When to Plant |
|---|---|---|---|
| Short-Day | 10–12 hours of daylight | Southern regions, warm climates, tropics | Plant in autumn, harvest late spring |
| Day-Neutral / Intermediate | 12–14 hours of daylight | Mid-latitude regions | Plant spring or autumn depending on location |
| Long-Day | 14–16 hours of daylight | Northern regions, higher latitudes | Plant late winter or early spring, harvest late summer |
How to know which type you need: If you live in the northern hemisphere above roughly 35–38° latitude — most of the US, UK, Europe, Canada — you want long-day or day-neutral varieties. If you live below that latitude — South Asia, the Middle East, Central America, southern US, North Africa, most of Australia — you want short-day varieties.
When in doubt, buy seeds locally. Your local nursery stocks varieties suited to your region and this decision is already made for you.
Two Ways to Start: Sets or Seeds
Option A — Onion Sets (Best for Beginners)
Onion sets are small, partially grown onion bulbs about the size of a large marble. You plant them directly into soil and skip the slow seedling stage entirely. They establish quickly, are forgiving of imperfect conditions, and deliver a reliable harvest with minimal effort. Most nurseries and garden centres carry sets in the right planting season for your region.
Option B — Seeds (More Variety, More Patience)
Seeds give you access to a wider range of varieties — heirloom types, unusual colours, specific flavour profiles. But they require starting 8 to 10 weeks indoors before transplanting outside. Germination takes 8 to 12 days in warm conditions of 18–24°C (65–75°F). Seedlings need their tops trimmed back regularly as they grow — more on this below. Seeds are the better choice once you have one successful season of sets behind you.
💡 The quick start shortcut: A firm onion from the grocery store that has started sprouting a green tip can often be planted directly as a makeshift set. Not as reliable as nursery-bought sets, but completely free and worth trying if you want to get started immediately.
Step 01 — Choose Your Pot and Soil
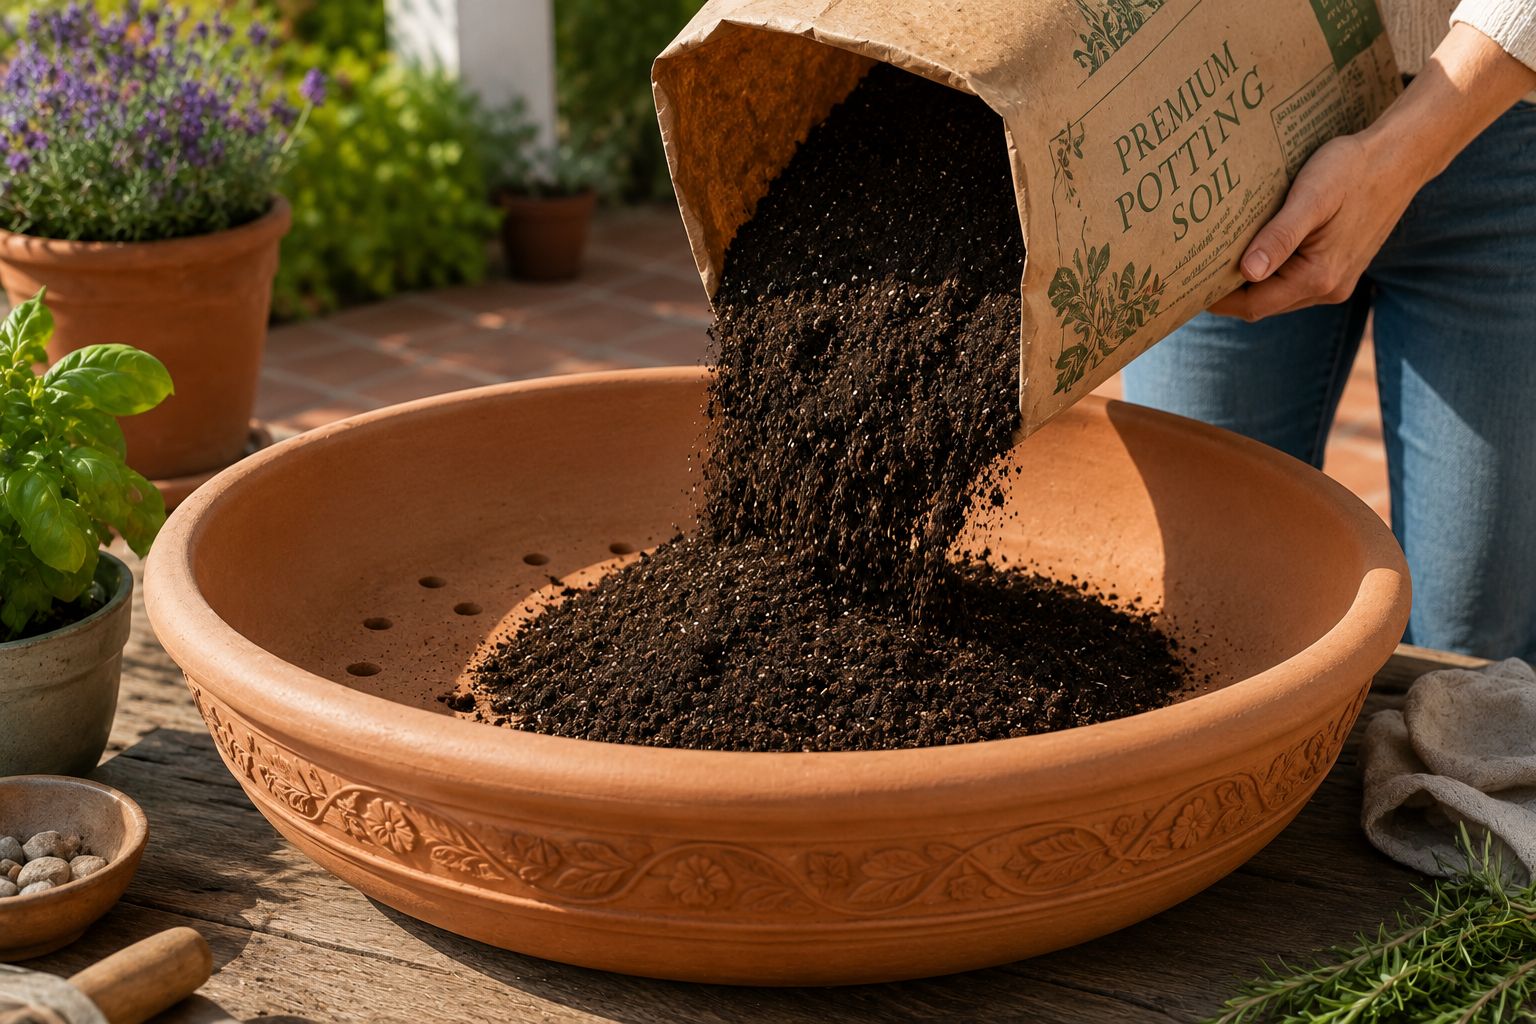
Onions develop their bulb just below the soil surface and spread outward rather than deep. This means you need width more than depth — the opposite of most root vegetables.
Pot size:
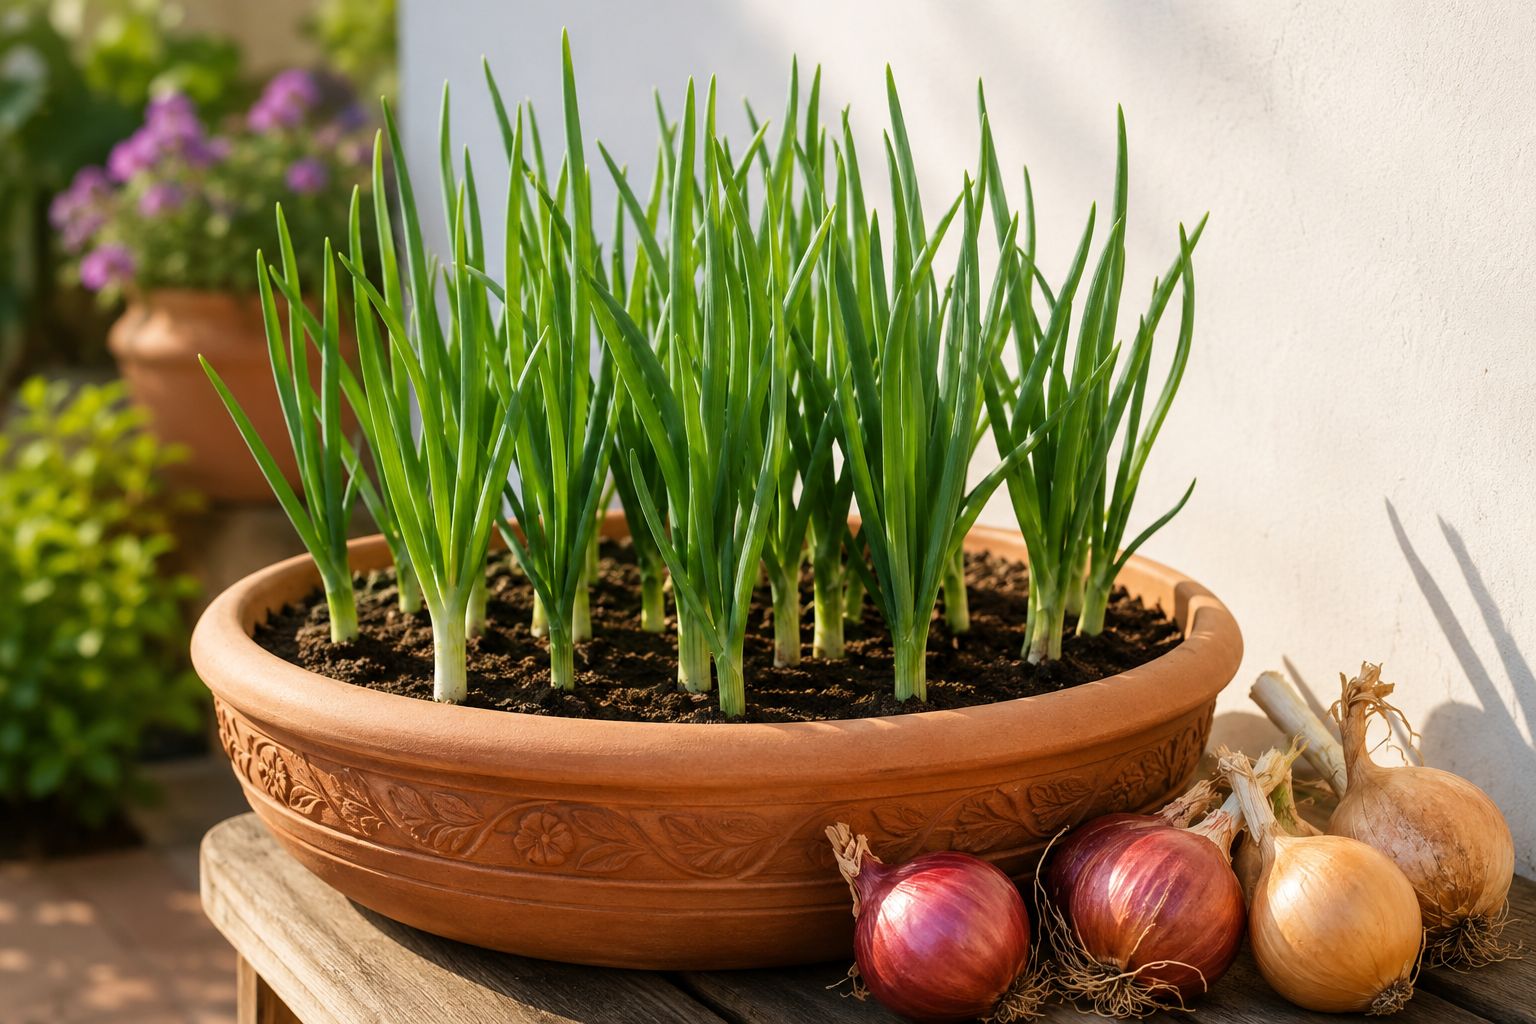
For full-sized bulb onions, use a container at least 30–45 cm (12–18 inches) deep and as wide as possible. A standard 5-gallon bucket comfortably holds 6 to 8 onions. A wide rectangular planter or half-barrel holds even more. For green onions and scallions, a pot just 20–25 cm (8–10 inches) deep is sufficient.
Drainage holes at the base are non-negotiable. Onions sitting in waterlogged soil rot quickly and completely.
Soil:
Never fill a pot with garden soil dug from the ground — it compacts in containers, turns heavy, and suffocates roots. Use a well-draining potting mix instead.
A good onion container mix:
- 1 part quality potting mix or peat-free compost
- 1 part perlite or coarse sand for drainage and aeration
- A slow-release balanced fertiliser mixed in at planting
This mix stays loose, drains well after watering, and holds just enough moisture between waterings. The ideal soil pH for onions is 6.0 to 7.0 — slightly acidic to neutral.
| Care | Requirement |
|---|---|
| ☀️ Sunlight | Full sun — 6 to 8 hours minimum |
| 💧 Watering | Consistent moisture — every 2–4 days |
| 🌡️ Temperature | 13–24°C (55–75°F) for growth |
| 🪴 Pot | 30 cm deep minimum — wider is better |
| 🌱 Soil | Well-draining potting mix — not garden soil |
| 📅 Planting time | Depends on variety — see day length table above |
Step 02 — Planting
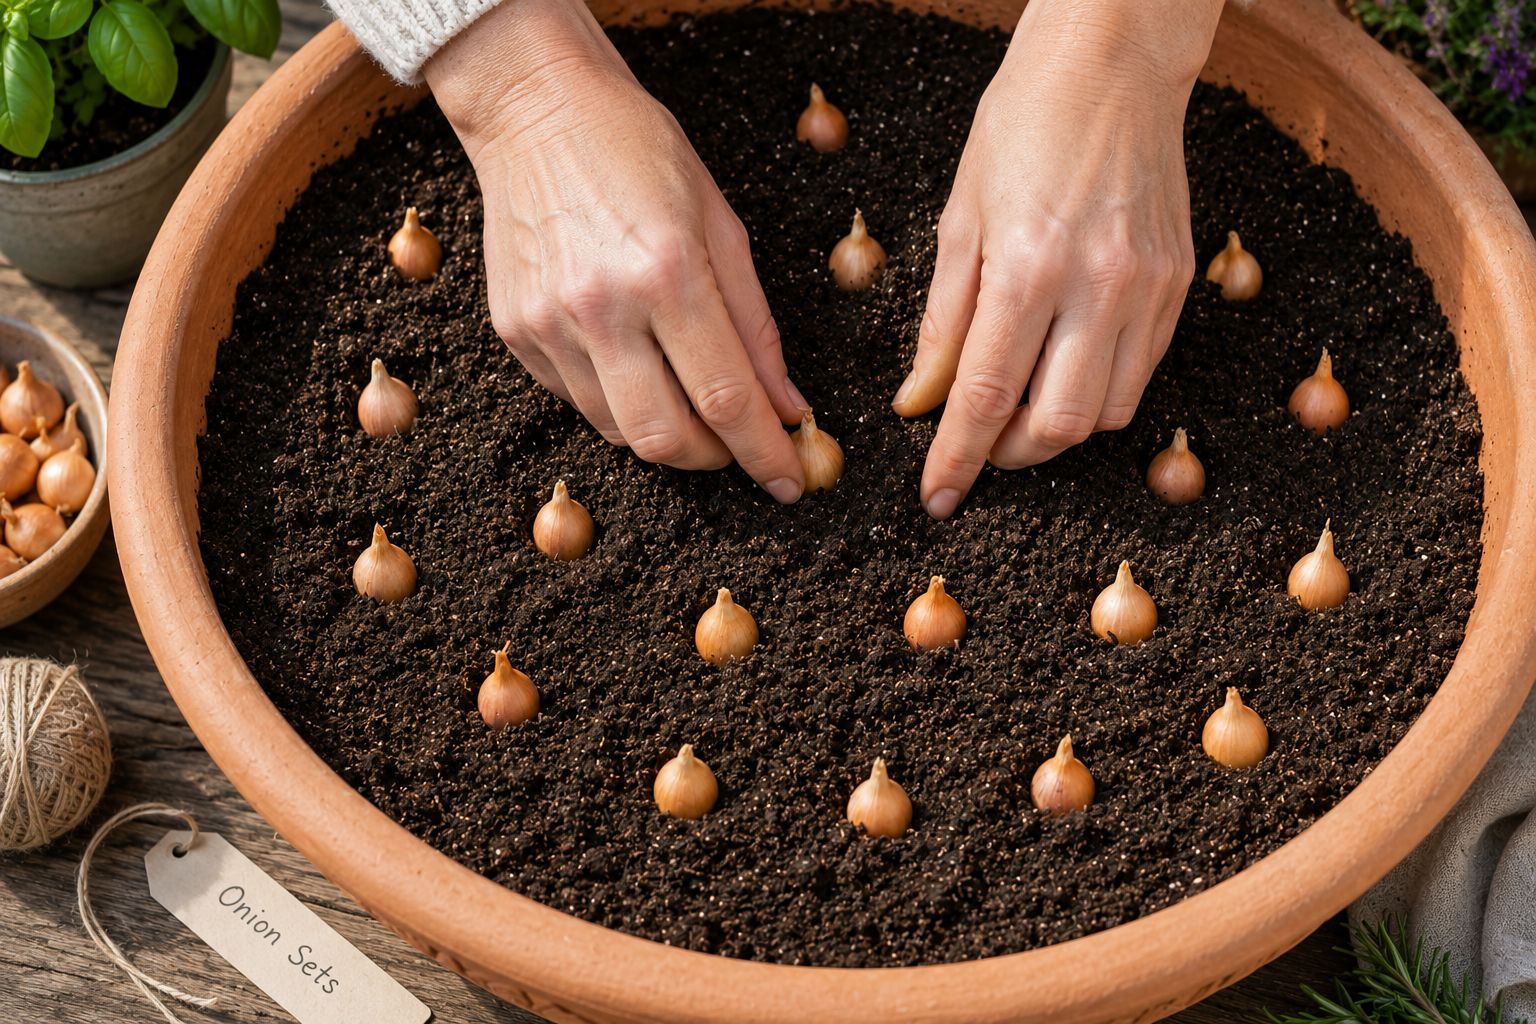
Once your container is filled and ready, planting is quick and straightforward.
Push each onion set 2.5–5 cm (1–2 inches) deep into the soil — pointed end up, flat root end down. This matters. A set planted the wrong way round will sort itself out eventually but wastes time and energy. Pointed end up, always.
Space sets 10–15 cm (4–6 inches) apart for full-sized bulbs. If you want to harvest some as scallions along the way, you can plant as close as 5–7 cm (2–3 inches) apart, then thin by harvesting alternate plants once they reach scallion size.
Water the pot gently and thoroughly after planting. Keep the soil consistently moist for the first two weeks while roots establish. Green shoots will push through the soil within one to two weeks — the plant is rooting and growing.
The trimming trick: As green shoots grow, trim them back to 8–10 cm (3–4 inches) tall with clean scissors once they reach 15 cm (6 inches). This redirects the plant's energy from leaf production into building a strong root system and bulb. Eat the trimmings — they taste exactly like scallions and are excellent chopped into salads, eggs, or anywhere you would use spring onions.
Step 03 — Care Through the Season
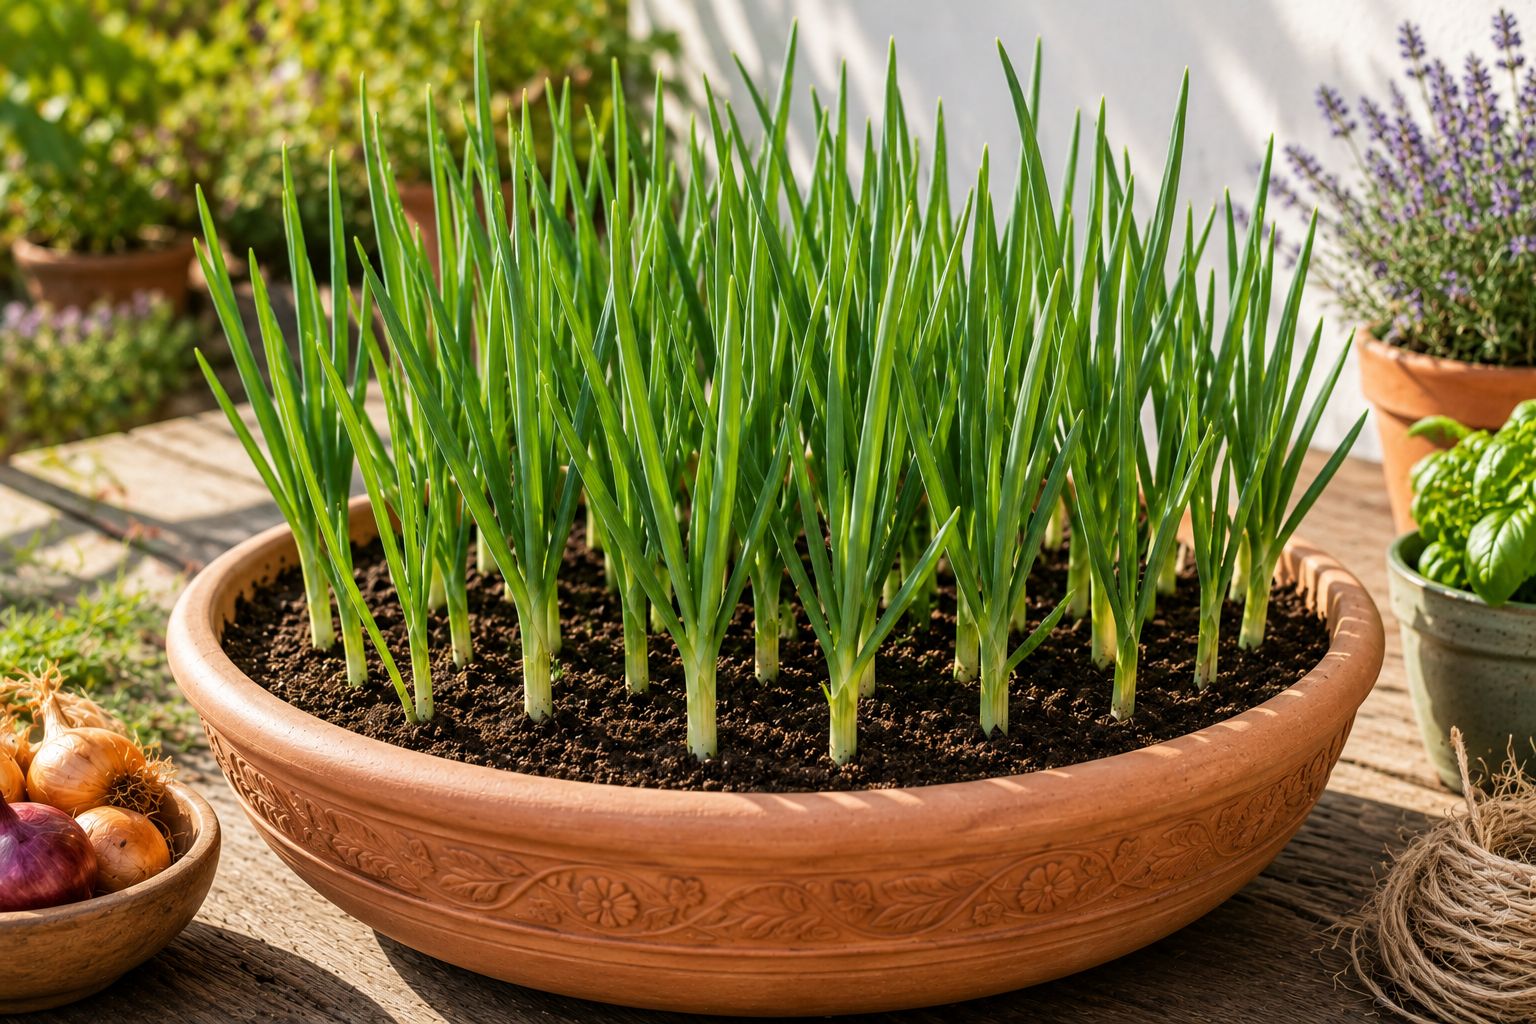
Once established, onions are genuinely low-maintenance — which is one of the great pleasures of growing them.
Watering: Keep soil consistently moist throughout the growing season. Onions have shallow roots that dry out relatively quickly in containers. Check the soil every two to three days and water when the top 2.5 cm (1 inch) feels dry. Inconsistent watering — swinging between bone dry and waterlogged — causes bulbs to split or develop uneven layers. One inch of water per week is the general guide, more during hot spells.
Feeding: Onions are heavy feeders. Feed every two to three weeks with a balanced liquid fertiliser during the vegetative stage when the plant is building its green tops. Once you notice the base of the plant beginning to swell — the bulb forming — switch to a low-nitrogen, high-potassium feed. Too much nitrogen at this stage pushes the plant to keep growing leaves instead of putting energy into the bulb.
Mulching: A thin layer of straw or fine compost mulch around the base of your onion plants helps retain soil moisture and suppress weeds. Pull the mulch back slightly from the bulbs themselves as they near harvest — developing bulbs need some sunlight exposure.
Bolting: If your onion sends up a thick, round flower stalk before the bulb has properly formed, pinch it off immediately. A bolting onion redirects all its energy into flowering rather than bulb development. Remove the stalk the moment it appears and the plant will continue growing its bulb. Bolting is usually triggered by a sudden cold spell, extreme heat, or drought stress — consistent care prevents most of it.
Companion planting: Onions are one of the best companion plants in any home garden. Their strong scent naturally deters aphids, flea beetles, carrot flies, and cabbage loopers. Plant them beside tomatoes, peppers, carrots, or brassicas and they work quietly as a fragrant, edible pest barrier throughout the season.
Step 04 — Harvest and Curing
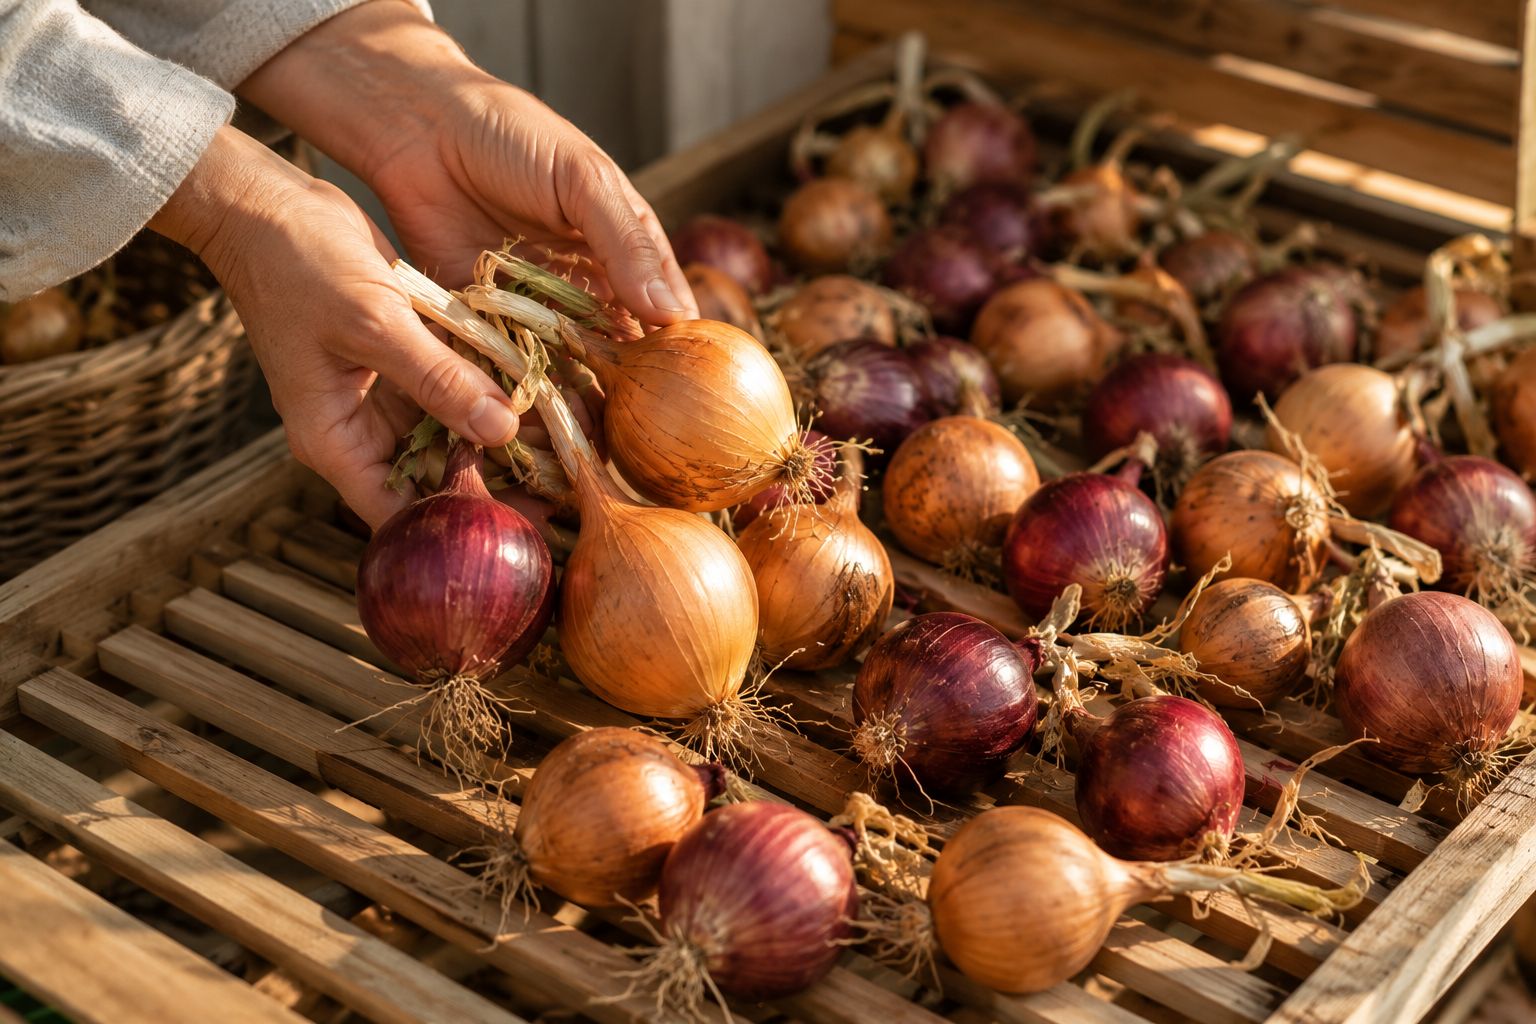
When to harvest:
The signal that onions are ready — the green tops begin to yellow, soften, and fall over on their own. When roughly half to two thirds of the tops have flopped and started to dry, that is harvest time. Do not wait for all tops to die completely — by that point the outer protective skin has broken down and the onions will not store as well.
Stop watering about a week before you plan to harvest. This helps the skin begin to dry and cure on the plant, making for better storage.
Loosen the soil around each bulb gently before lifting. Never yank the bulb straight up by the top — this can snap the neck and significantly reduces storage life. Loosen first, then lift.
Curing — the step that saves your harvest:
Freshly harvested onions are not ready to store. They need to cure — a drying process that hardens the outer skin and seals the neck of the bulb against moisture and rot.
Lay harvested onions in a single layer somewhere warm, dry, and well-ventilated — a covered porch, a shed, a dry garage, or anywhere with good airflow. Out of direct rain and not in a sealed space. Leave them for two to three weeks. Turn them occasionally for even drying.
After curing, the outer skin should feel dry and papery. The neck — where the top meets the bulb — should feel completely hard and dry. Trim the tops to 3–5 cm and any remaining roots. Store in a mesh bag, a slatted crate, or a hanging net in a cool, dry, ventilated spot away from direct light.
Properly cured onions store at room temperature for four to six months. Strong-flavoured, pungent varieties — yellow and red storage onions — last longest. Mild, sweet varieties store for a shorter time and are best used first.
✂️ Use soft-necked bulbs first. Any onions with thick, soft necks after curing will not store long. Use these within the first few weeks. The firm, thin-necked ones are your long-term keepers.
Green Onions — The Fast Harvest Bonus
You do not have to wait five months for your first taste. Onions harvested young — before the bulb has properly formed — are green onions, spring onions, or scallions. Pull them when the green tops are 15–20 cm (6–8 inches) tall and the small white base is finger-thick. They are mild, fresh, and excellent raw in salads, cooked into stir-fries, or used anywhere you want a lighter onion flavour.
If you planted sets close together (5–7 cm), you can harvest every other one as a scallion while leaving the remaining ones to develop into full bulbs. Two harvests from one planting.
Common Mistakes to Avoid
| Mistake | What Happens | The Fix |
|---|---|---|
| Wrong variety for your latitude | Lush tops, no bulb ever forms | Match short/long/day-neutral to your location |
| Planting pointed end down | Twisted, slow growth | Pointed end always faces up |
| Sets too close together | Competition, small underdeveloped bulbs | 10–15 cm spacing for full bulbs |
| Inconsistent watering | Bulb splitting, uneven layers | Keep soil evenly moist — check every 2–3 days |
| Too much nitrogen during bulbing | Keeps growing leaves, tiny bulb | Switch to high-potassium feed when bulbing starts |
| Ignoring flower stalk | Plant bolts, no proper bulb | Remove flower stalk immediately when it appears |
| Skipping the curing step | Onions rot within weeks | 2–3 weeks in dry, ventilated shade — essential |
| Garden soil in a pot | Heavy, compacted, roots suffocate | Always use proper potting mix in containers |
Quick Care Summary
| Care | Requirement |
|---|---|
| ☀️ Sunlight | Full sun — 6 to 8 hours daily |
| 💧 Watering | Consistently moist — 1 inch per week |
| 🌱 Soil | Well-draining potting mix, pH 6.0–7.0 |
| 🪴 Pot | 30 cm deep minimum, drainage holes essential |
| 🌿 Feeding | Balanced feed during growth, switch to high-K when bulbing |
| ✂️ Trimming | Trim tops to 8–10 cm when seedlings get tall |
| 🌾 Harvest | When half to two thirds of tops have yellowed and fallen |
| 🧅 Curing | 2–3 weeks in dry, ventilated shade before storing |
| 📦 Storage | Mesh bag or crate, cool and dry, 4–6 months |
Part of the Instantly Grow Series by Seedora Store — grow the vegetables your kitchen actually uses, every single day.