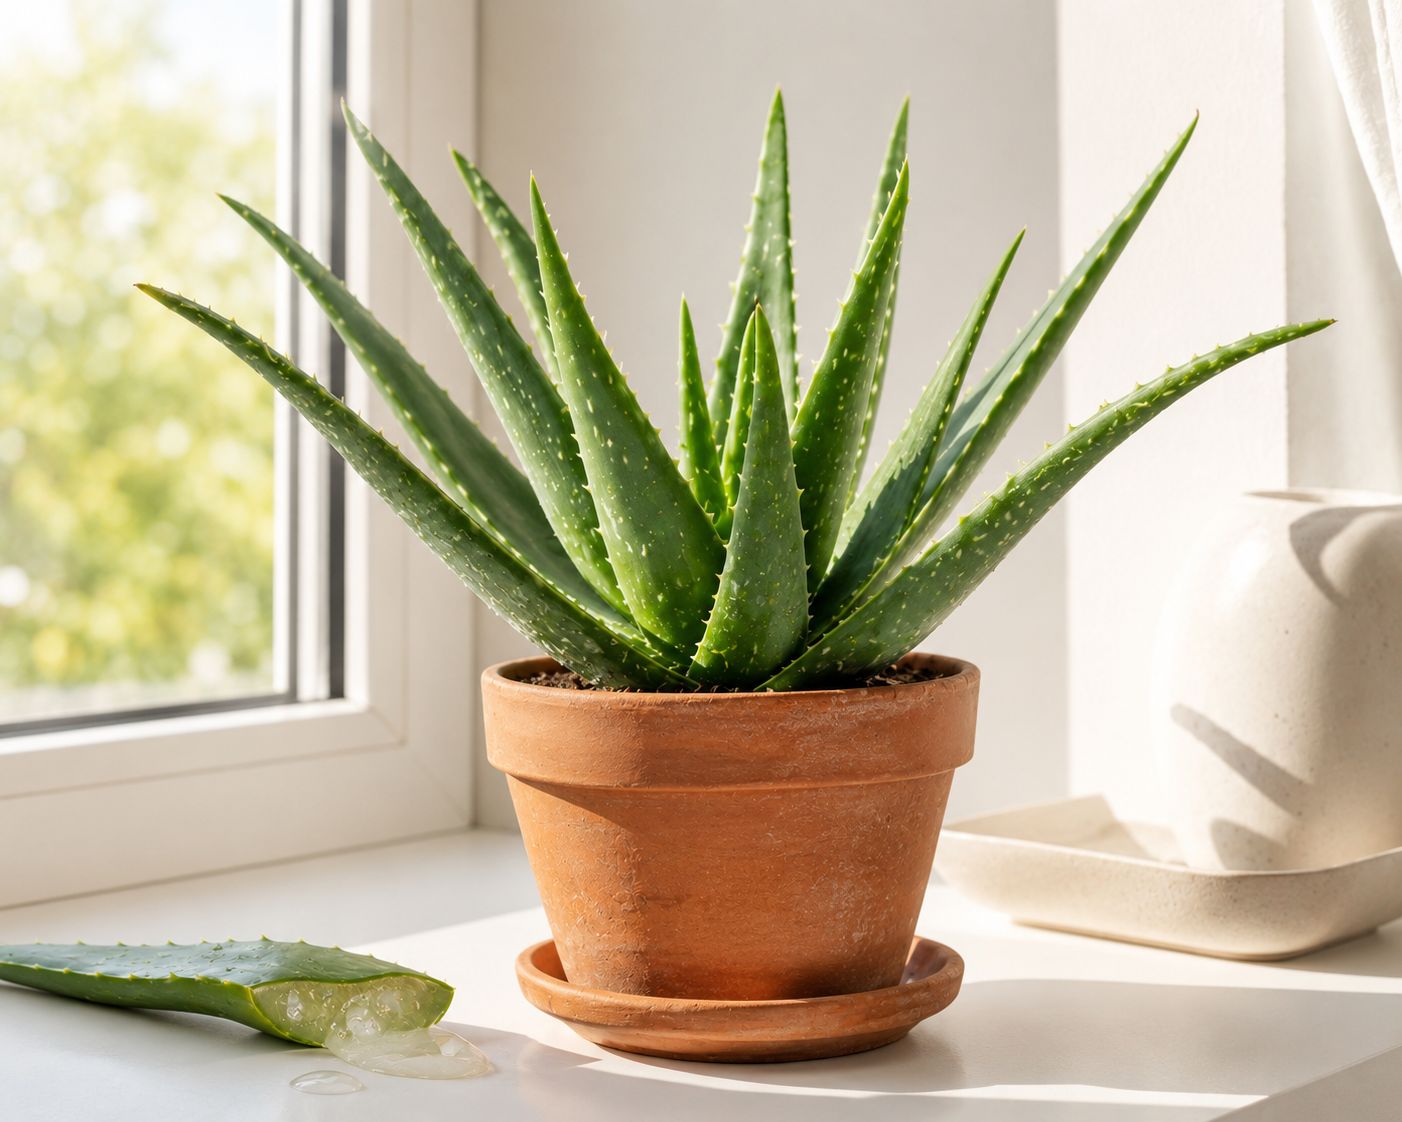
How to Grow Aloe Vera Indoors
Aloe Vera is the most useful plant you can grow at home. Sunburn? Aloe. Dry skin? Aloe. Kitchen burn? Aloe. It heals, it looks stunning, and it practically grows itself. Here's how.
What Is Aloe Vera Called Around the World?
| Region | Name |
|---|---|
| 🇵🇰 Pakistan / Urdu | کوار گندل (Kuwaar Gandal) |
| 🇸🇦 Arabic | صبار (Sabbar) |
| 🇮🇳 Hindi | घृतकुमारी (Ghritkumari) |
| 🌍 Swahili | Msubiri |
| 🇪🇸 Spanish | Sábila / Aloe |
| 🌐 Scientific | Aloe barbadensis miller |
Benefits of Growing Aloe Vera at Home
Natural First Aid — Fresh gel instantly soothes burns, cuts, and sunburn better than most store creams.
Skin & Hair Care — Apply directly as a face moisturiser, hair mask, or under-eye treatment. Pure, free, chemical-free.
Air Purifier — NASA studies confirm Aloe Vera removes formaldehyde and benzene from indoor air.
Digestive Health — Aloe juice supports digestion and gut health when consumed in small amounts.
Stress Reducer — Simply having greenery indoors lowers stress and anxiety levels.
Saves Money — One plant replaces multiple skincare and first aid products. Grows forever from free pups.
Nearly Unkillable — Perfect for busy people. Survives weeks without water. Thrives on neglect.
Step 01 — Get a Pup (Baby Aloe)
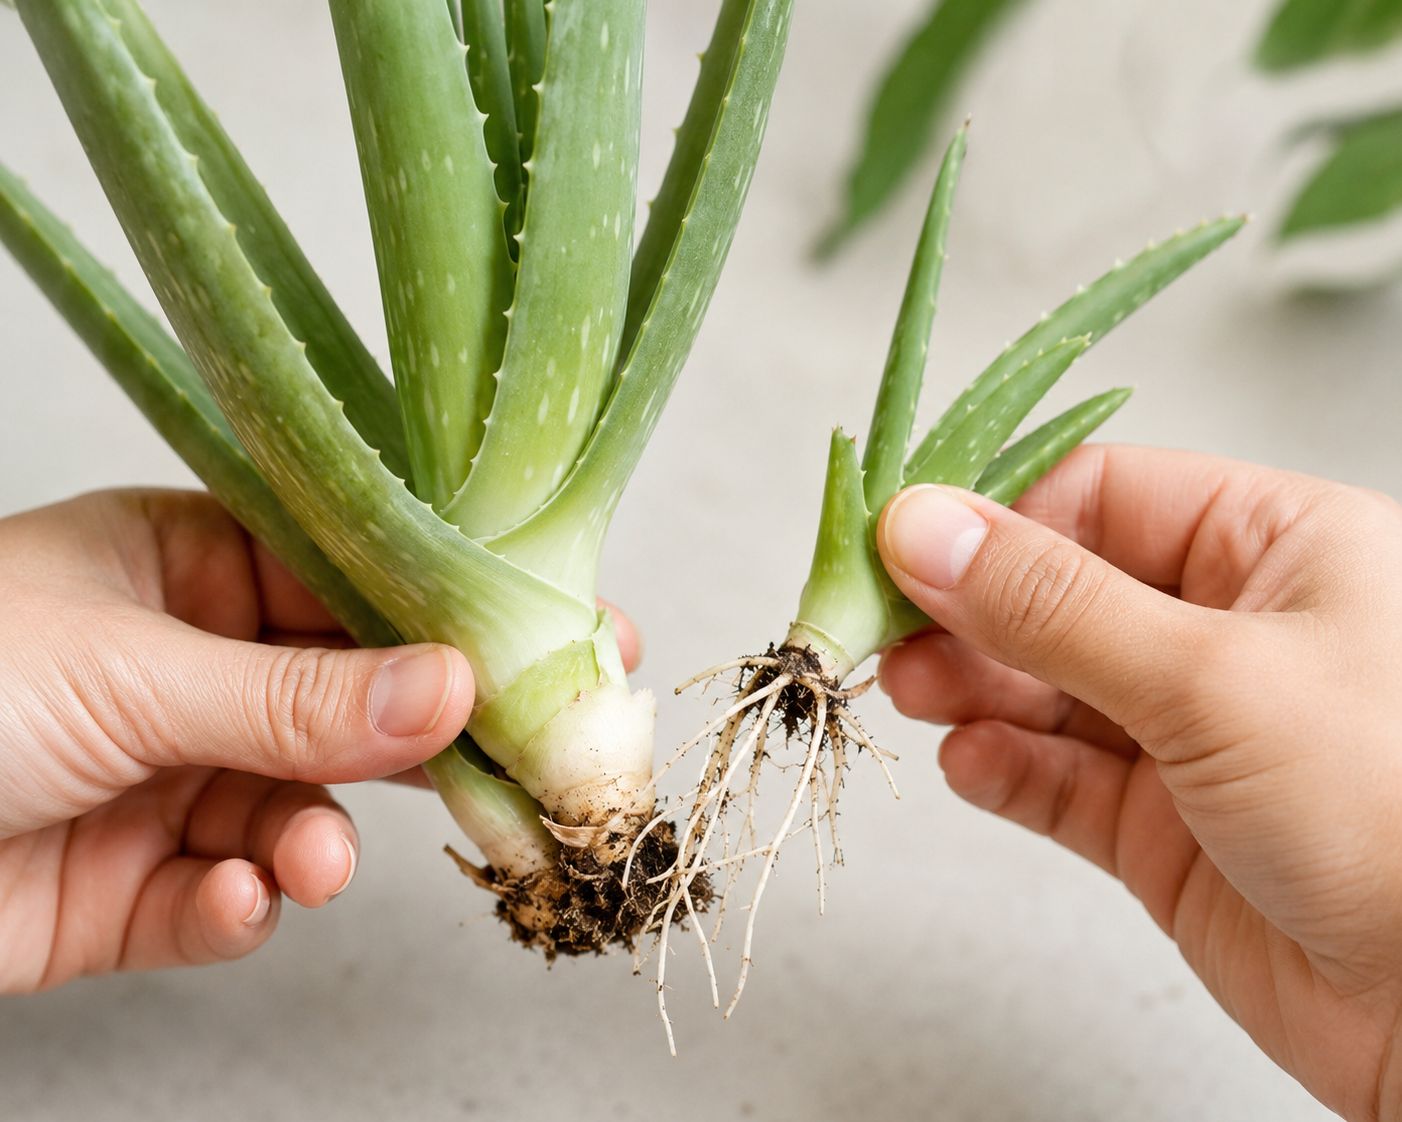
The easiest way to start is from a pup — the small baby plants that grow around the base of a mature Aloe. Ask a friend, neighbour, or local nursery for one. Gently twist and pull the pup away from the mother plant, keeping its roots intact. Let it dry in open air for 1–2 days before planting so the base seals and doesn't rot.
🌵 No pup available? Buy a small Aloe from any nursery or supermarket for almost nothing — then propagate it endlessly.
Step 02 — Plant in the Right Soil

Aloe Vera hates normal garden soil — it holds too much water and causes root rot. Use a cactus or succulent mix, or make your own: 50% potting soil + 50% sand or perlite. Plant the pup upright, burying just the roots and base. Use a terracotta pot with drainage holes — terracotta breathes and prevents overwatering naturally.
Step 03 — Place in Bright Light & Water Rarely
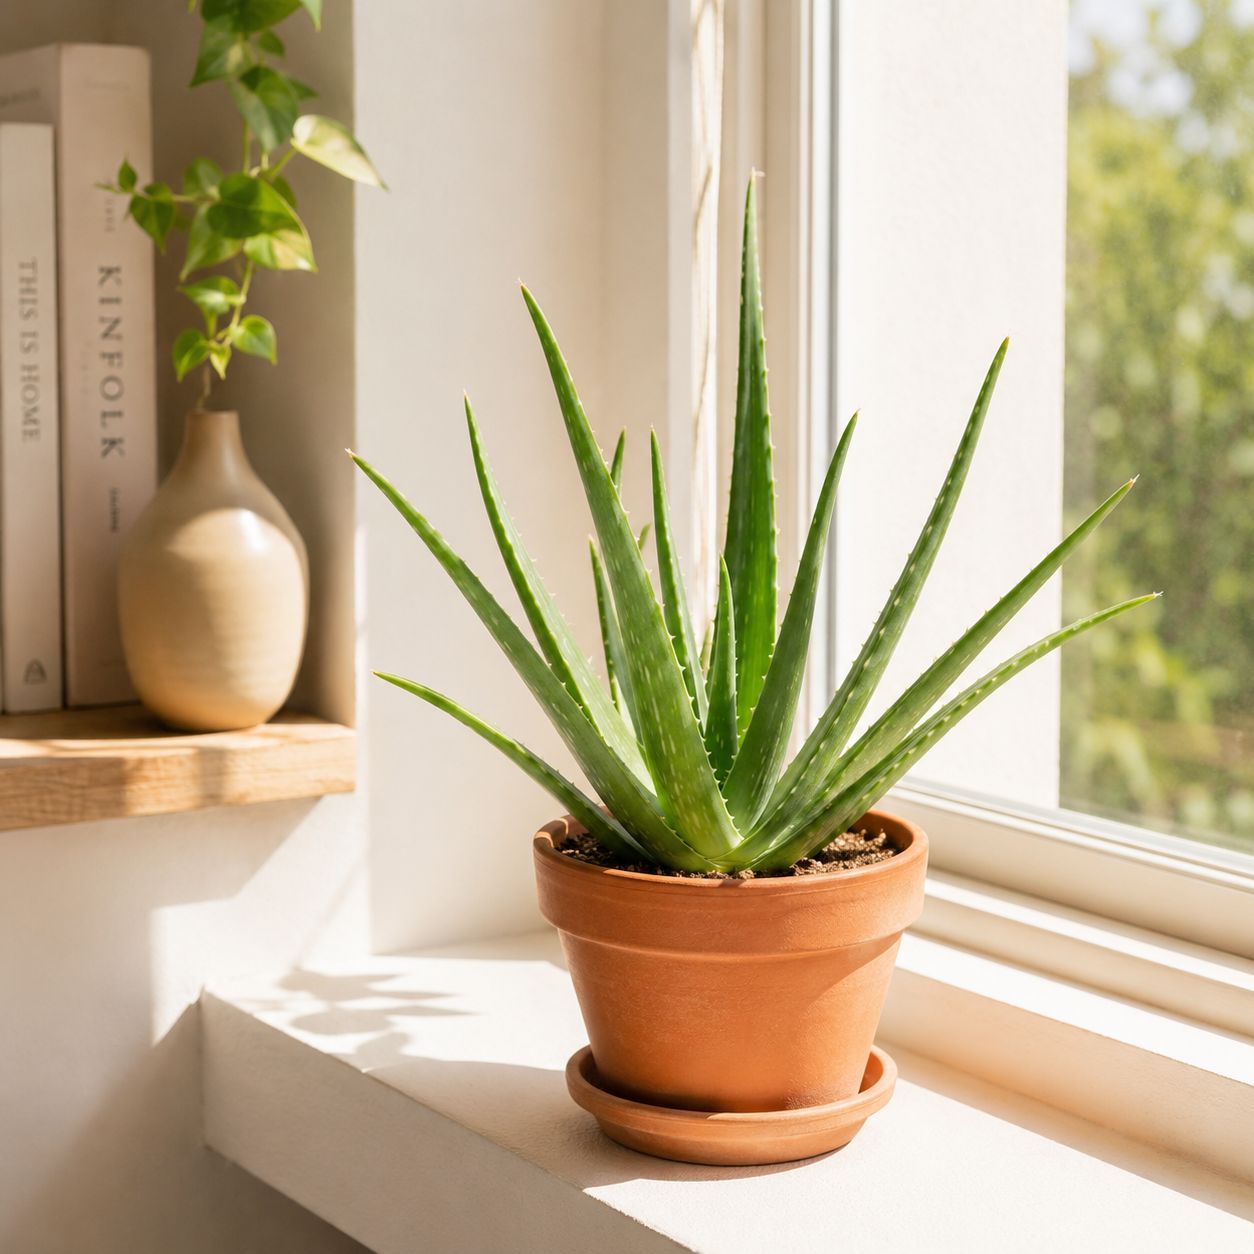
Place your Aloe on the sunniest windowsill you have — south or west-facing is ideal. It needs 6–8 hours of bright light daily. Water deeply but only when the soil is completely dry — roughly every 2–3 weeks in summer, once a month in winter. Less is always more with Aloe.
| Season | Watering Frequency |
|---|---|
| Summer | Every 2–3 weeks |
| Winter | Once a month |
| Always | Only when soil is bone dry |
❌ #1 mistake: Overwatering. Yellow mushy leaves = too much water. Brown dry tips = too little light.
Step 04 — Harvest Your Gel
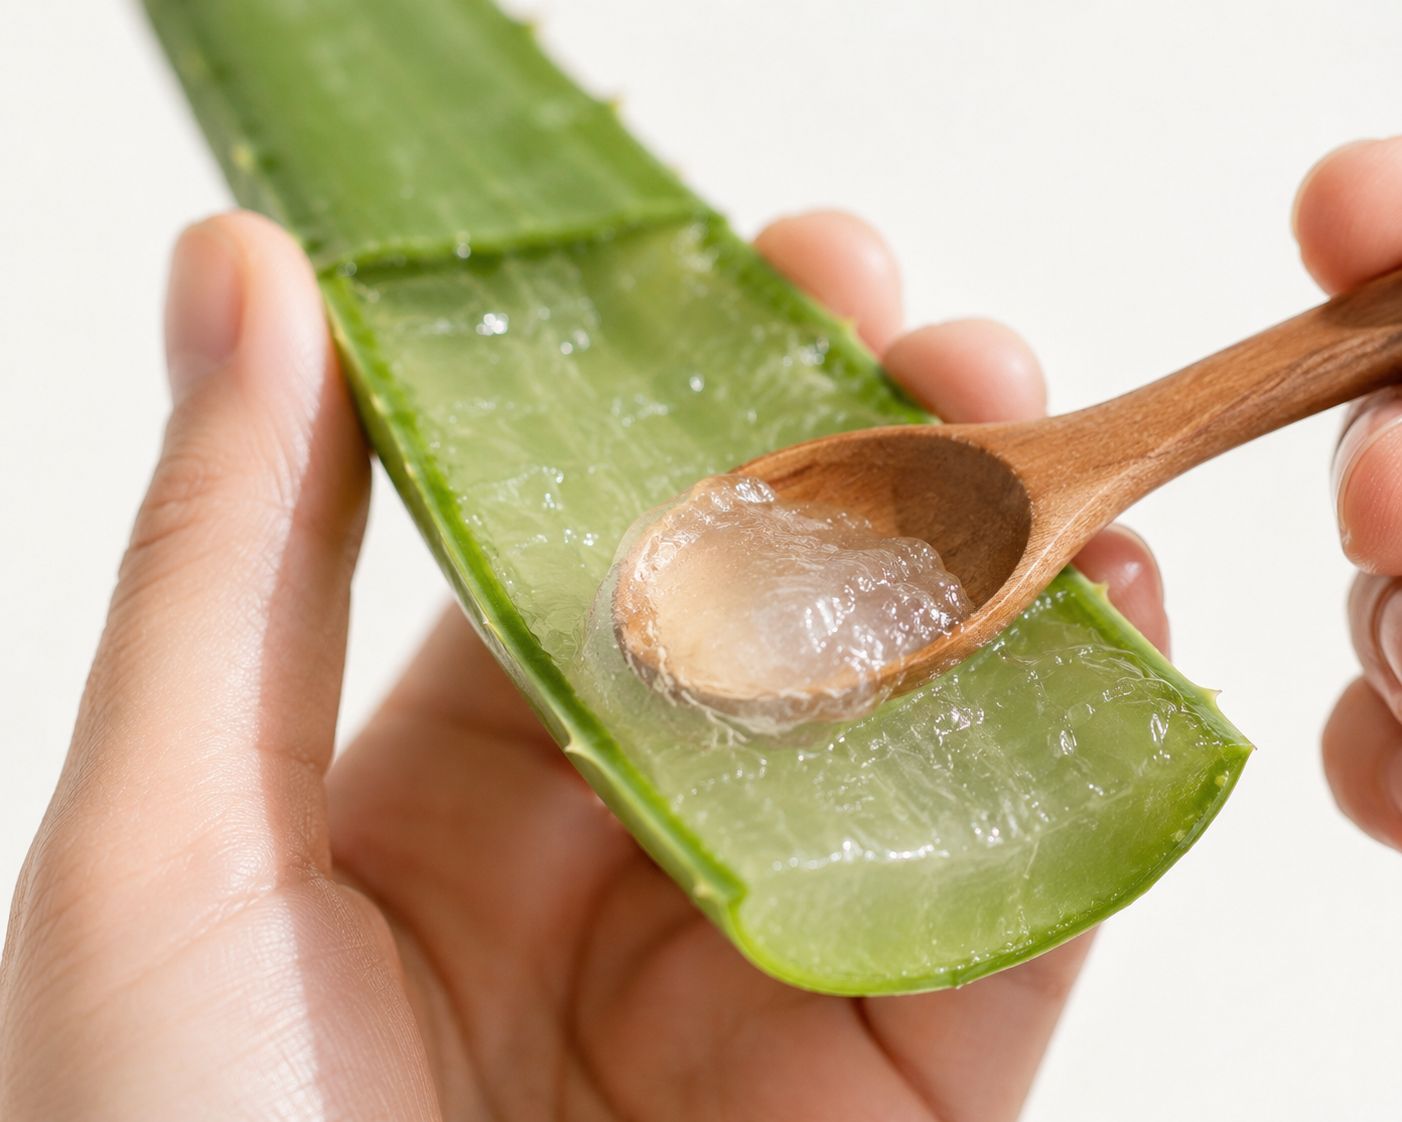
Once leaves are thick and plump — usually after 6–8 months — you can harvest. Cut the outermost, lowest leaf at the base with a clean knife. Slice it open lengthways and scoop out the clear gel with a spoon. Apply directly to skin, burns, or hair. Store leftover gel in the fridge for up to 1 week.
✂️ Never harvest more than 3 leaves at once — always leave the inner leaves to keep the plant thriving.
Quick Troubleshooting
| Problem | Cause | Fix |
|---|---|---|
| Yellow soft leaves | Overwatering | Stop watering, let soil dry fully |
| Brown dry tips | Too little light | Move to brighter window |
| Leggy / leaning plant | Not enough sun | Rotate pot, increase light |
| Mushy base | Root rot | Repot in fresh dry soil immediately |
| No new growth | Needs repotting | Move to a slightly larger pot |
Part of the Instantly Grow Series by Seedora Store — grow plants that heal, beautify, and last a lifetime.