If you have ever dug a garden bed by hand, you know the drill. You break up hard soil with a spade, turn it over, pull out roots and rocks, rake it flat — and by the time you are done, your back hurts and the bed still needs compost mixed in before you can plant anything. Then, next season, you do it all over again.
No-till gardening skips almost all of that. Instead of digging up the soil, you build on top of it — layers of cardboard, compost, and mulch, stacked directly over the ground you already have, even if it is grass, weeds, or hard compacted dirt. You never turn the soil. You just keep feeding it from above, the same way a forest floor feeds itself with fallen leaves, and let the worms, fungi, and microbes underneath do the actual work of turning that into rich, plantable soil.
It sounds almost too simple to work, but it is quietly becoming one of the most recommended ways to start a home garden, precisely because it is easier, not harder, than the traditional method. Less digging, fewer weeds, better water retention, and soil that keeps improving every single season instead of getting worked to exhaustion.
Here is everything you need to start one.
What Is No-Till Gardening, Exactly?
No-till gardening goes by a few different names depending on who you ask — they all describe roughly the same idea with small variations in materials.
| Name | Core Idea |
|---|---|
| No-Till / No-Dig | The general term — soil is never turned or dug, only layered on top |
| Sheet Mulching / Lasagna Gardening | Cardboard or newspaper as a weed-blocking base, then alternating layers of compost and mulch |
| Back to Eden Method | Popularised using wood chips as the main top layer, mimicking a forest floor |
| Ruth Stout Method | Uses a thick, constantly-topped-up layer of loose hay or straw instead of wood chips |
🌱 The one idea behind all of them: healthy soil is alive — full of earthworms, fungi, and microorganisms that build fertility on their own if you stop disturbing them. Digging or tilling breaks up that underground network every time, which is why a no-till bed often outperforms a dug one within just a season or two.
💡 One thing most people do not know: you do not need good soil to start. No-till gardening can be built directly on top of grass, weeds, or badly compacted dirt — the layers above smother what is underneath and slowly turn it into usable soil, so there is no need to clear or dig the ground first.
Which No-Till Method Should You Use?
| Method | Best For | Materials Needed | Notes |
|---|---|---|---|
| Sheet Mulching (Lasagna) | Beginners, converting a lawn or weedy patch | Cardboard, compost, mulch | The most common starting method — simple and cheap |
| Back to Eden (Wood Chips) | Long-term beds, fruit trees, perennial areas | Wood chips, occasional compost | Slower to plant into at first, very low maintenance after year one |
| Ruth Stout (Straw/Hay) | Vegetable beds, fast results | Loose straw or hay, added continuously | Straw breaks down faster, needs regular topping up |
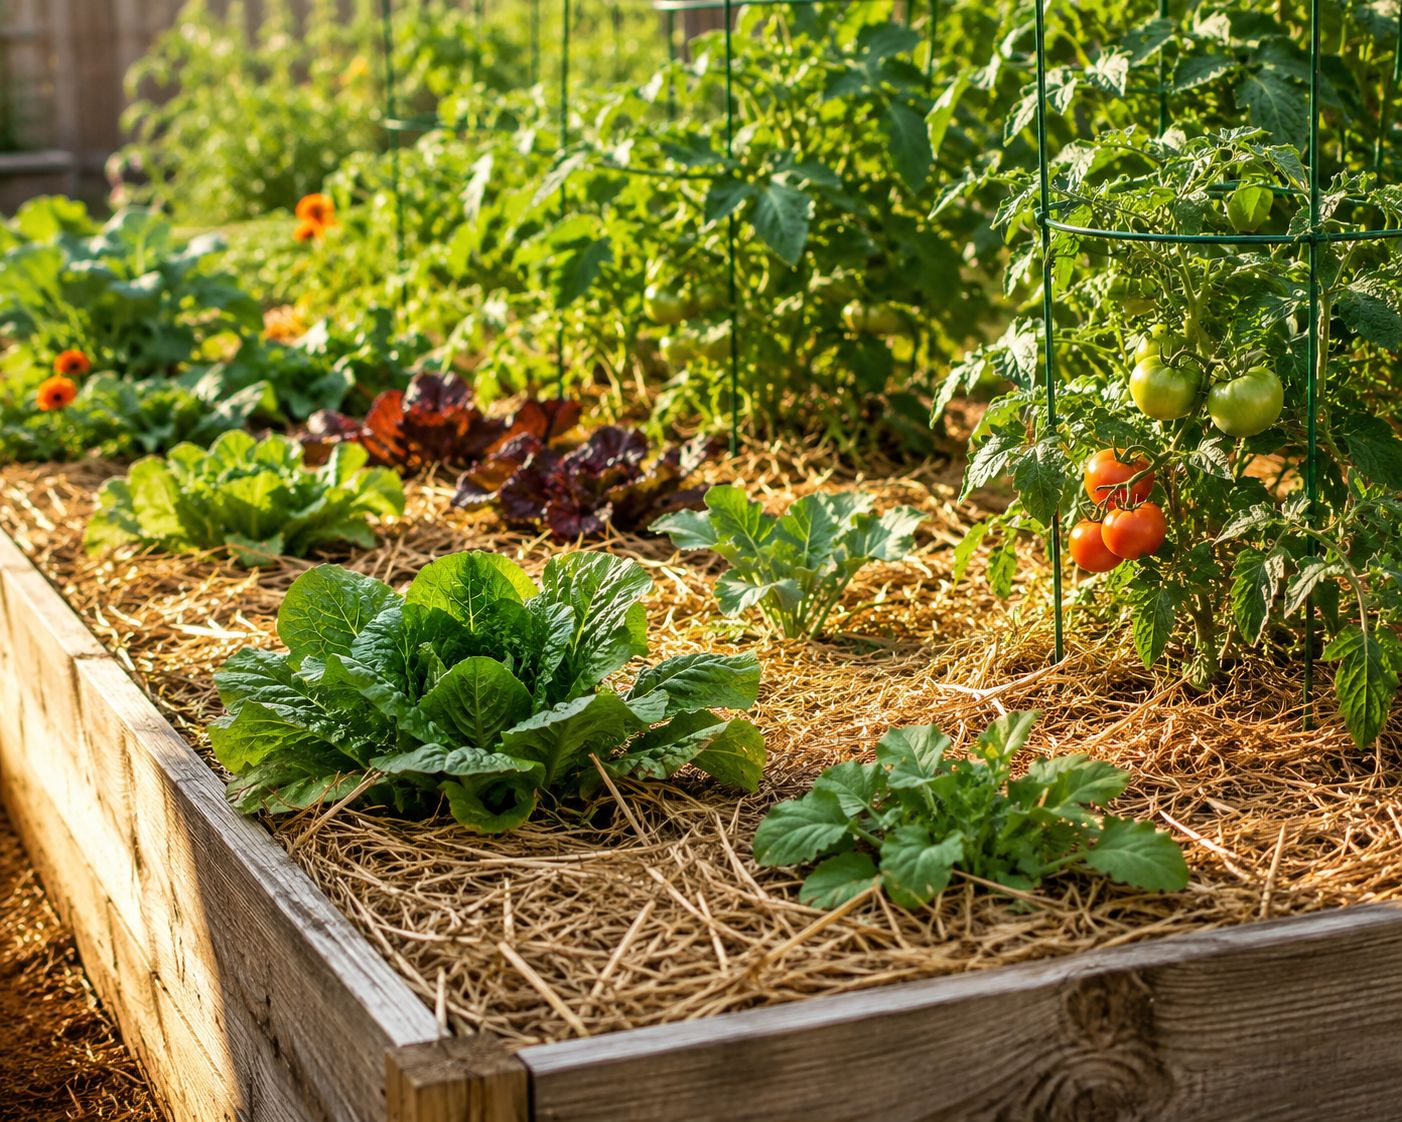
| Raised Bed No-Till | Small spaces, rooftops, balconies | Compost, mulch, a bed frame | Combines raised bed convenience with no-till soil building |
💡 For a first no-till garden, sheet mulching is the easiest place to start. It uses materials you likely already have — cardboard boxes and kitchen compost — and it is the most forgiving method if you are converting an existing lawn or weed patch into a growing space.
Step 01 — Choose and Prepare Your Spot
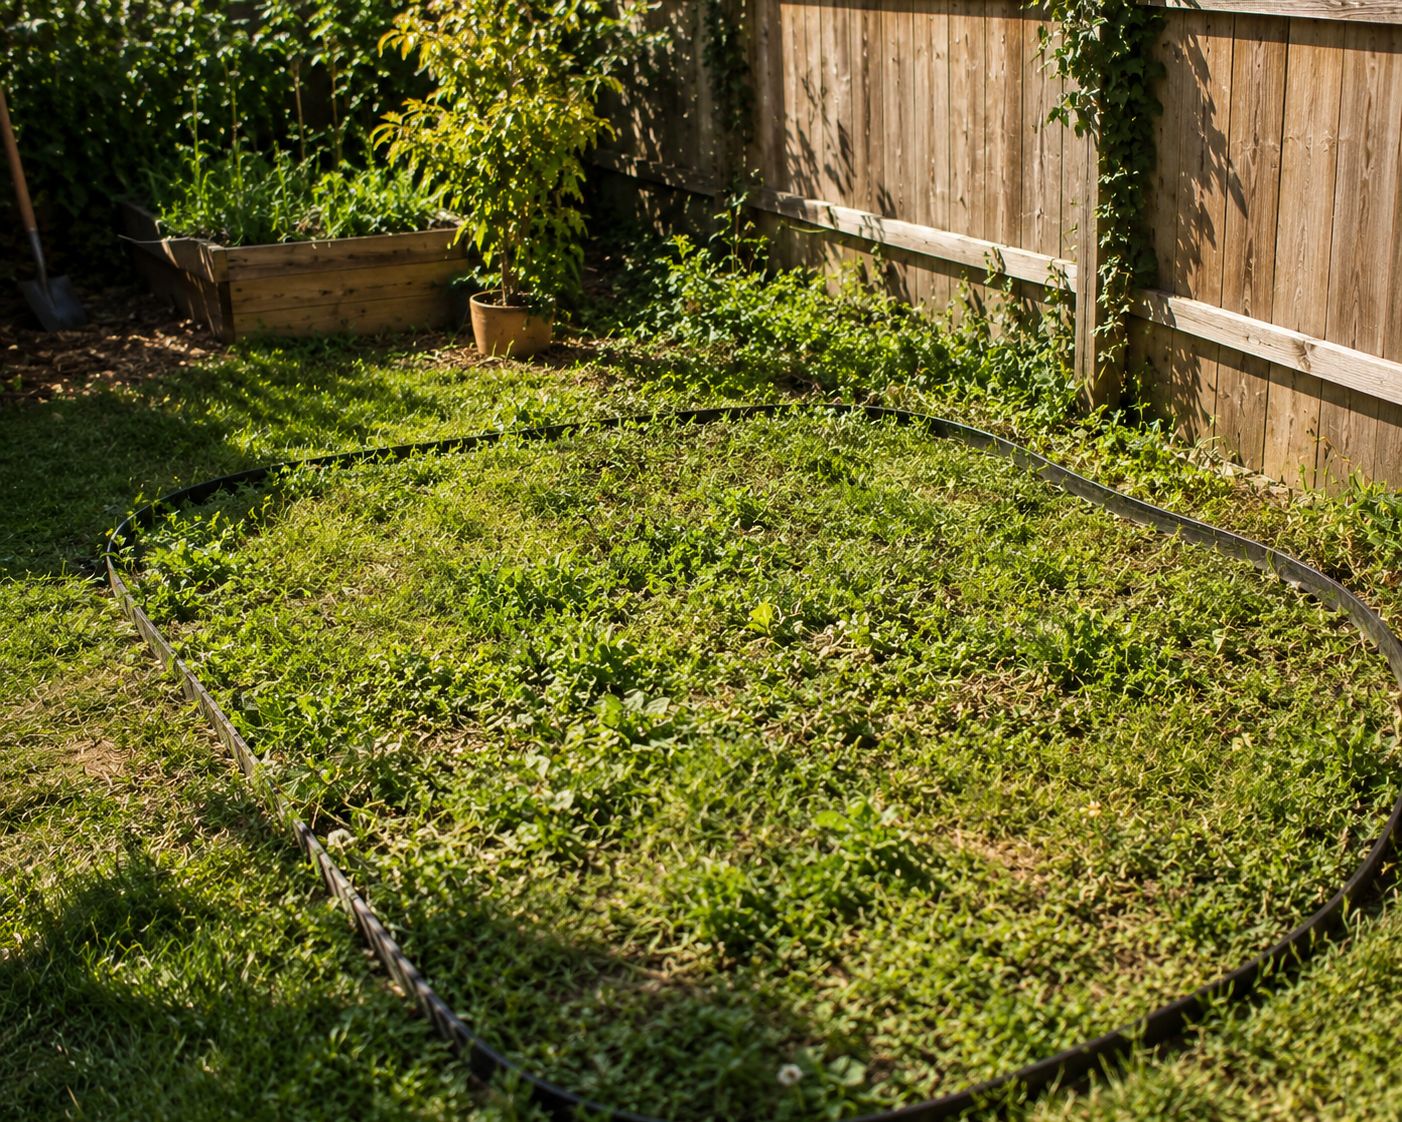
Pick a spot that gets 6 to 8 hours of direct sunlight a day — this matters more than the current condition of the ground underneath. Unlike traditional gardening, you do not need to clear, dig, or even weed the area first. Grass, weeds, and compacted soil are all fine starting points, since everything you place on top will smother and slowly break them down.
If you are working with an existing plot, mow or cut down any tall grass and weeds as low as possible first — this simply makes the next layer sit flatter and work more effectively, not because digging is required.
Step 02 — Lay Down the Base Layer
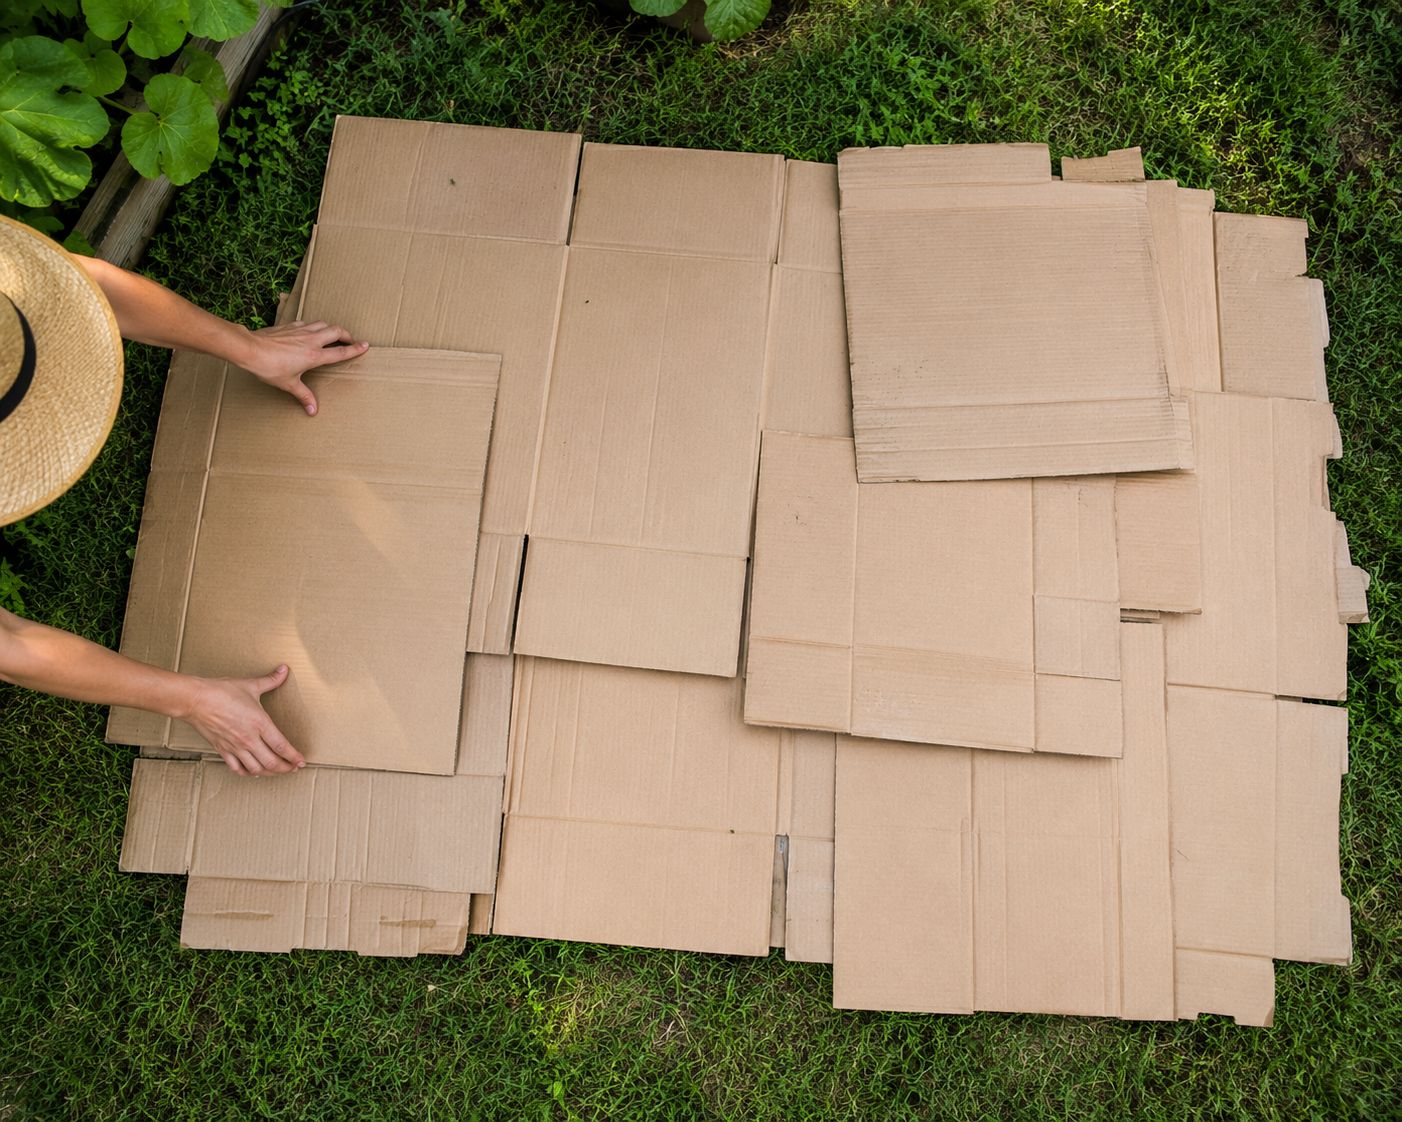
This is the step that replaces digging entirely. Lay down plain cardboard or several sheets of newspaper directly over the grass or weeds, overlapping every edge generously so there are no gaps for weeds to sneak through. Remove any tape, glue, or plastic labels from the cardboard first, since these do not break down.
Water this layer thoroughly once it is down — this helps it settle into place and begins the breakdown process immediately. Over the following months, the cardboard smothers whatever is underneath, cutting off its light, while slowly decomposing itself and feeding the soil below.
🌱 Skip this step only if you are building directly in an already-empty raised bed with no grass or weeds underneath — in that case, you can go straight to the compost layer.
Step 03 — Build the Layers
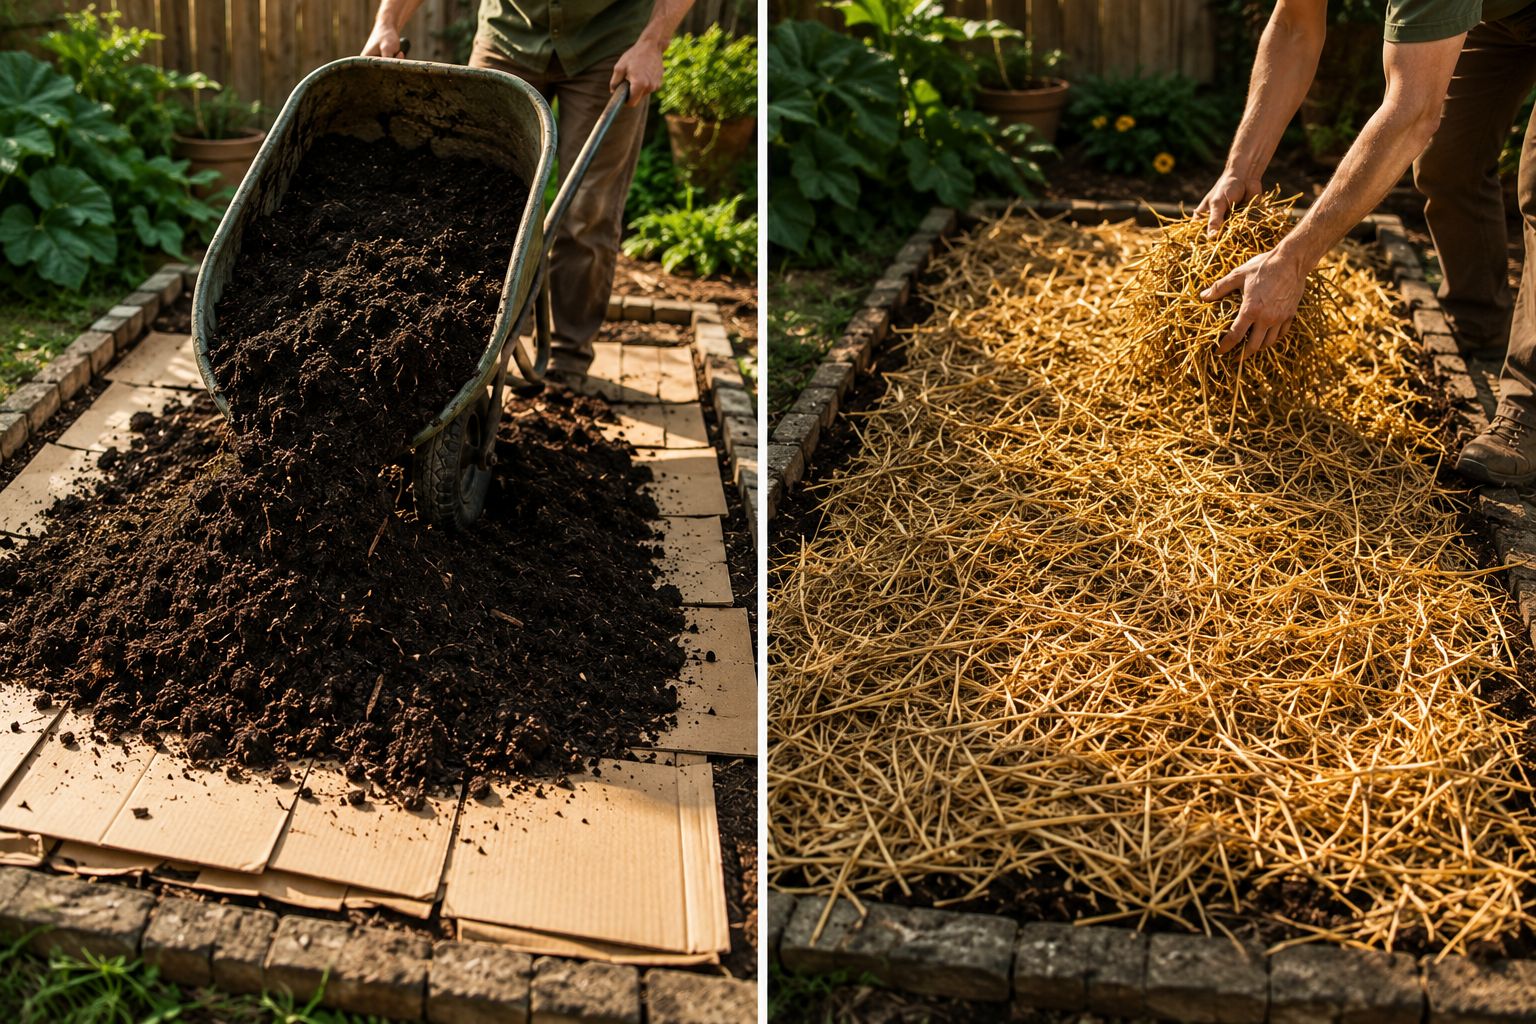
This is where the actual growing medium is built, entirely on top of the ground — no digging involved at any point.
Layer one — compost: Spread a generous layer of good quality compost, roughly 3 to 4 inches deep, directly over the cardboard. This becomes the main root zone your plants will actually grow in, so use the best compost you can get.
Layer two — mulch: Top the compost with 2 to 3 inches of organic mulch — straw, dried leaves, grass clippings, or wood chips all work well. This layer locks in moisture, blocks weed seeds from reaching light, and slowly breaks down to feed the compost layer beneath it.
| Care | Requirement |
|---|---|
| ☀️ Sunlight | 6–8 hours direct sun for the bed location |
| 💧 Watering | Water each layer as you build it; check moisture below mulch afterward |
| 🌡️ Best time to build | Any season, but ideally 4–6 weeks before you plan to plant |
| 🪴 Layer depth | Cardboard base + 3–4 in compost + 2–3 in mulch |
| 🌱 Materials | Cardboard, compost, straw/wood chips/dried leaves |
| 📅 Time before planting | Can plant immediately into compost, or wait a season for full breakdown |
Step 04 — Plant Directly Into It
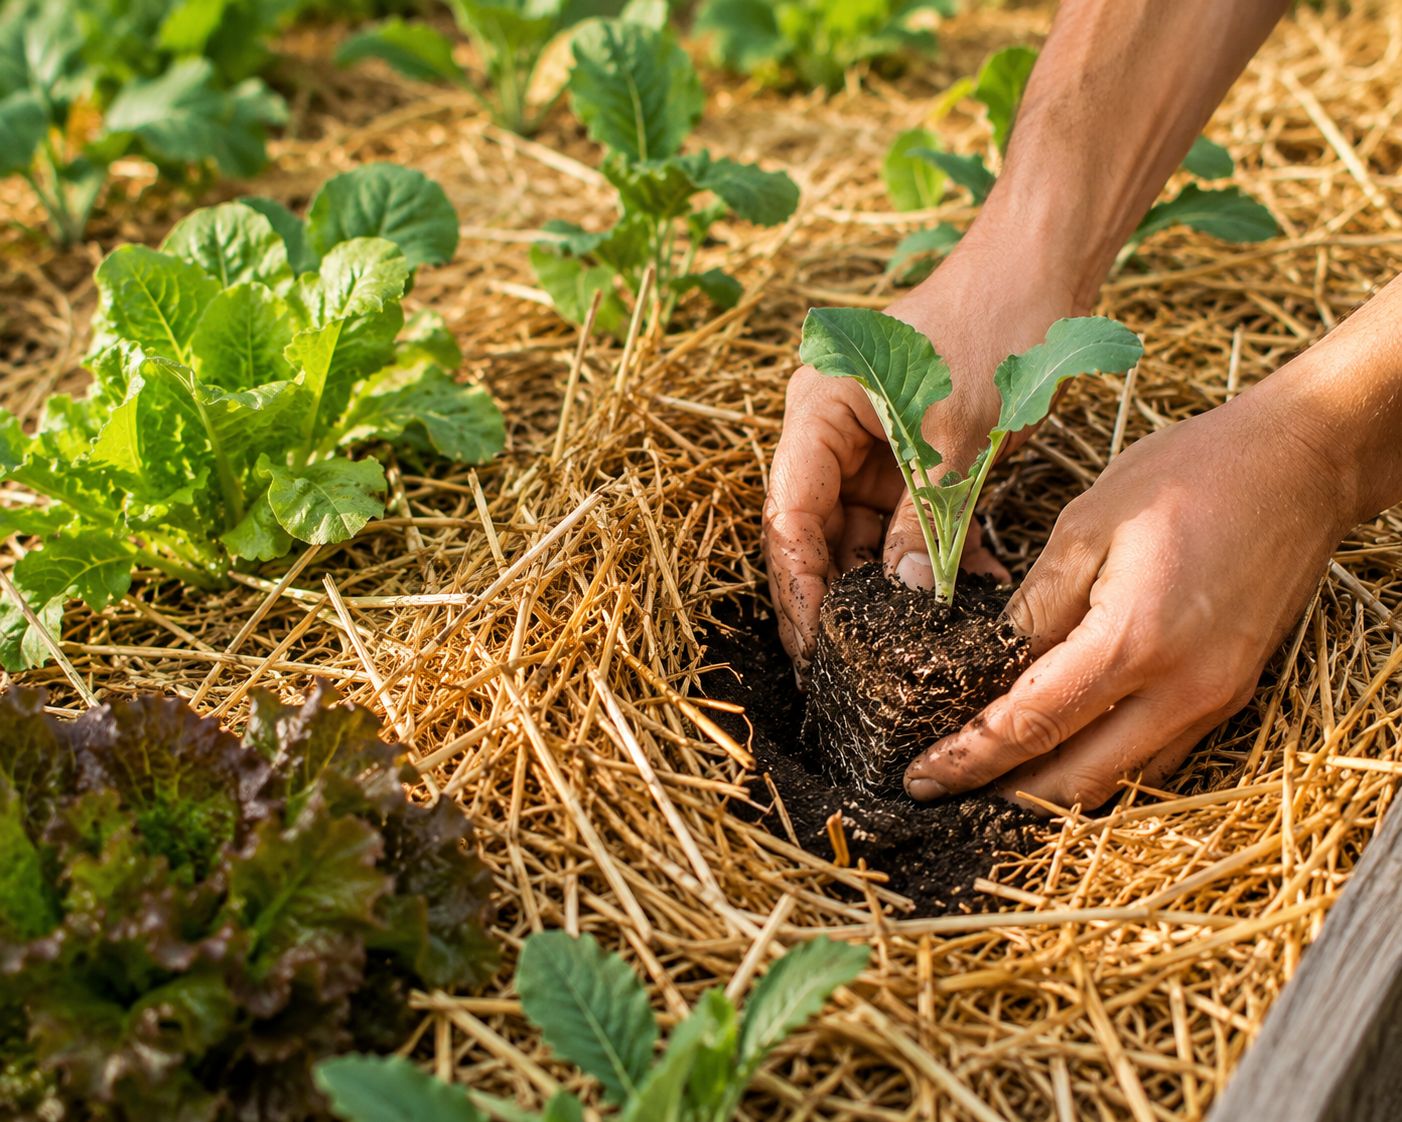
You do not need to wait for the layers to fully break down before planting — most gardeners plant the same day the bed is built.
For seeds: Push the mulch aside slightly at each planting spot so seeds sit directly in the compost layer, not buried under mulch, then gently pull a little mulch back around the seedling once it has sprouted.
For seedlings or transplants: Move the mulch aside, dig a small hole straight into the compost layer with your hand or a trowel, place the seedling, and firm the compost back around its roots. Return the mulch around the base of the plant, leaving a small gap right at the stem to prevent rot.
Watering: No-till beds hold moisture far better than dug soil, so you will likely water less often than you expect. Check by feeling an inch below the mulch — if it is dry there, it is time to water.
Step 05 — Maintain It Season After Season
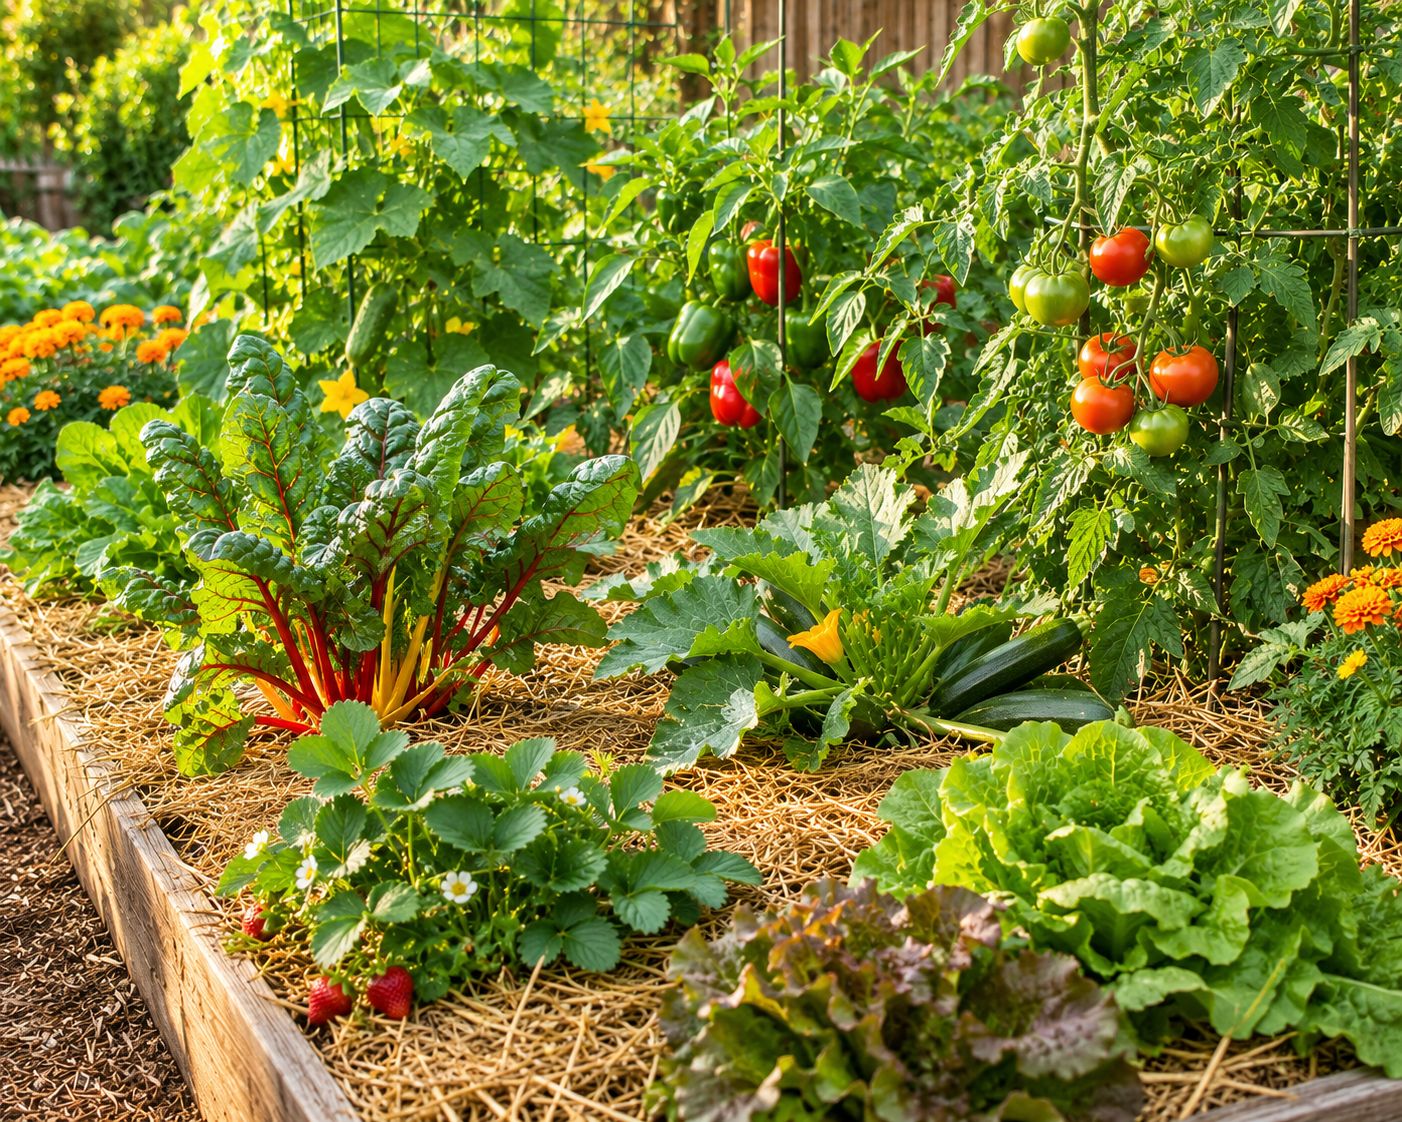
This is the part that makes no-till genuinely less work over time, not just at the start.
Never dig or turn the bed. Every time you plant something new, simply move the mulch aside, plant into the compost or the soil that has now formed beneath it, and put the mulch back.
Top up the layers each season. Add a fresh layer of compost at the start of each growing season, and replace mulch as it thins out or breaks down. This is the only ongoing task a no-till bed really needs.
Let old plants feed the bed. Instead of pulling finished plants out completely, cut them at the base and leave the roots in the ground to decompose naturally, adding organic matter and structure right where they grew — a practice often called "chop and drop."
Handle weeds by hand, not by digging. A few weeds may still appear, especially early on. Simply pull them out by hand — since the soil is soft and undisturbed, they usually come out easily, roots and all, without needing a tool.
✂️ The rule that makes no-till compound over time: the less you disturb the soil, the more its natural structure improves — every season you leave it alone, next season's watering, weeding, and yield all get easier. This is the opposite of tilled soil, which needs to be reworked and re-amended every single year just to stay usable.
Why No-Till Actually Works
- 🪱 Undisturbed soil life. Earthworms, fungi, and beneficial bacteria stay intact instead of being torn apart every season, and they do the work of aerating and enriching the soil for you.
- 💧 Better water retention. The mulch layer locks in moisture, meaning less frequent watering, especially useful during hot summer months.
- 🌱 Far fewer weeds. Weed seeds buried under cardboard and mulch never get the light they need to germinate.
- 💪 Less physical labor. No annual digging or turning — just adding layers on top, which is easier on your back and your schedule.
- 📈 Soil that improves every year. Unlike tilled soil, which needs to be reworked annually, a no-till bed gets richer, softer, and more productive the longer you leave it alone.
- 🌍 Better for the environment. Less soil disturbance means less erosion, better carbon retention in the soil, and no need for machinery or heavy tools.
Common Mistakes to Avoid
| Mistake | What Happens | The Fix |
|---|---|---|
| Skipping the cardboard layer | Weeds and grass grow straight through | Always start with a solid, overlapping cardboard or newspaper base |
| Layers too thin | Weeds still get through, poor moisture retention | Use a full 3–4 inches of compost and 2–3 inches of mulch |
| Mixing mulch into the compost layer | Nitrogen gets tied up, slows plant growth | Keep mulch and compost as separate, distinct layers |
| Digging anyway "just this once" | Undoes soil structure built up over seasons | Always plant by moving mulch aside, never by digging |
| Piling mulch against plant stems | Stem rot, pest hiding spots | Leave a small gap around the base of each plant |
| Expecting instant perfect soil | Disappointment in year one | Soil quality builds over 1–3 seasons — be patient, it compounds |
| Using treated or glossy cardboard | Chemicals leach into soil | Use plain brown cardboard only, remove tape and labels |
No-Till vs Other Garden Methods
| No-Till Bed | Traditional Tilled Bed | Raised Bed (Tilled) | Container Garden | |
|---|---|---|---|---|
| Digging required | ❌ None | ✅ Every season | ⚠️ Once, at setup | ❌ None |
| Weeding effort | ⭐ Low | ⭐⭐⭐ High | ⭐⭐ Medium | ⭐ Low |
| Watering frequency | ⭐ Low — mulch retains moisture | ⭐⭐⭐ High | ⭐⭐ Medium | ⭐⭐⭐ High |
| Soil improves over time | ✅ Yes, significantly | ⚠️ Needs yearly amending | ⚠️ Needs yearly amending | ❌ Limited by pot size |
| Startup effort | ⭐⭐ Medium — one-time layering | ⭐⭐⭐ High — digging and tilling | ⭐⭐⭐ High — building + filling | ⭐ Low |
| Best for | Converting lawns, long-term beds | Large open plots | Small defined spaces | Balconies, rooftops |
No-till asks for a bit of upfront effort to build the layers, and then quietly rewards you every season after that with less work, not more. It is one of the few gardening methods that genuinely gets easier the longer you stick with it — the soil does more of the job each year, so you do less.
It Gets Better Every Year
The single biggest difference between no-till and every other method is what happens over time. A tilled bed resets every season — dig it up, add nutrients, hope the structure holds until the next round of digging tears it apart again. A no-till bed does the opposite: every layer you add builds on the last one, every season of undisturbed earthworm and microbial activity makes the soil a little richer and a little softer than the year before.
Gardeners who stick with no-till for two or three seasons consistently report the same thing — less watering, fewer weeds, and noticeably healthier plants, without doing anything more than topping up compost and mulch once or twice a year. The first season is where you do the real work. Every season after that, the garden increasingly takes care of itself.
Part of the General Series by Seedora Store — for the ways of gardening that work with nature instead of against it.